04-010-12 Do it Best Same Day Pickup MOCE Setup
Do it Best Same Day Pickup MOCE Setup
The Do it Best MOCE interface within TransActPOS allows for orders placed online with the DIB MOCE Professional ecommerce store to update the inventory levels, sales and accounts receivable.
When orders are placed online within MOCE, TransActPOS is notified by MOCE to process the order and once the store indicates within the order as "Ready for Pickup", TransActPOS creates a Sales Order using the Do it Best Corp (MOCE) customer.
After the customer picks up the order at the store, the store then updates the order status in MOCE to "Order Picked Up".
The Sales Order will then be invoiced upon pick up. The inventory is reduced and the invoice is posted to the Do it Best customer account. The invoice amount is based upon the amount due to the store and posted as a non-taxed sale.
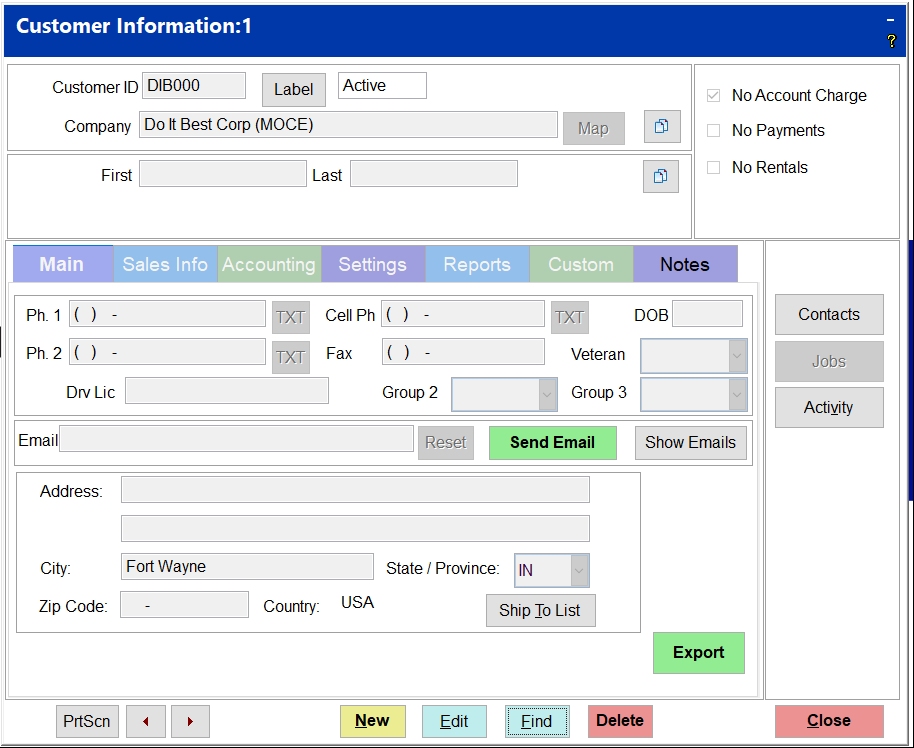
| | Setup requires establishing a non-taxed customer account for Do it Best. For multi-store stores, the account needs to be created at the individual store (local level). This includes making this a "No Account Charge" to prevent it from being used for normal sales. Example screens below.
|
Main Page
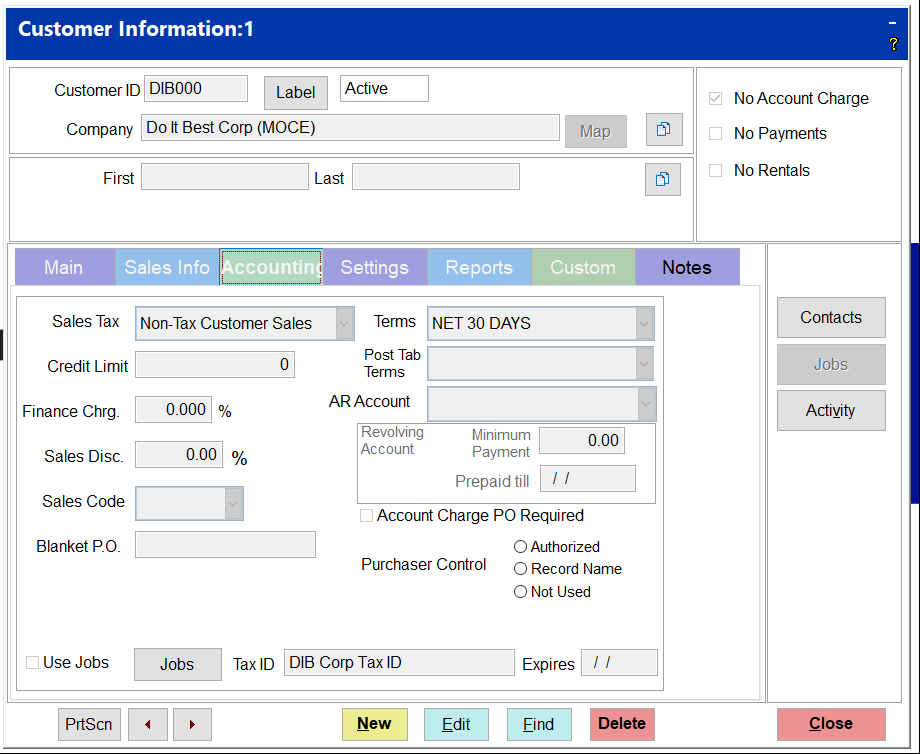
Account Page
Settings Page
The customer account should be a non-taxed account as Do it Best is the "Merchant of Record" and is responsible for the appropriate sales tax collection and reporting. This account can use the same GL account for accounts receivable as normal or a specific GL account just for MOCE online purchases (preferred).
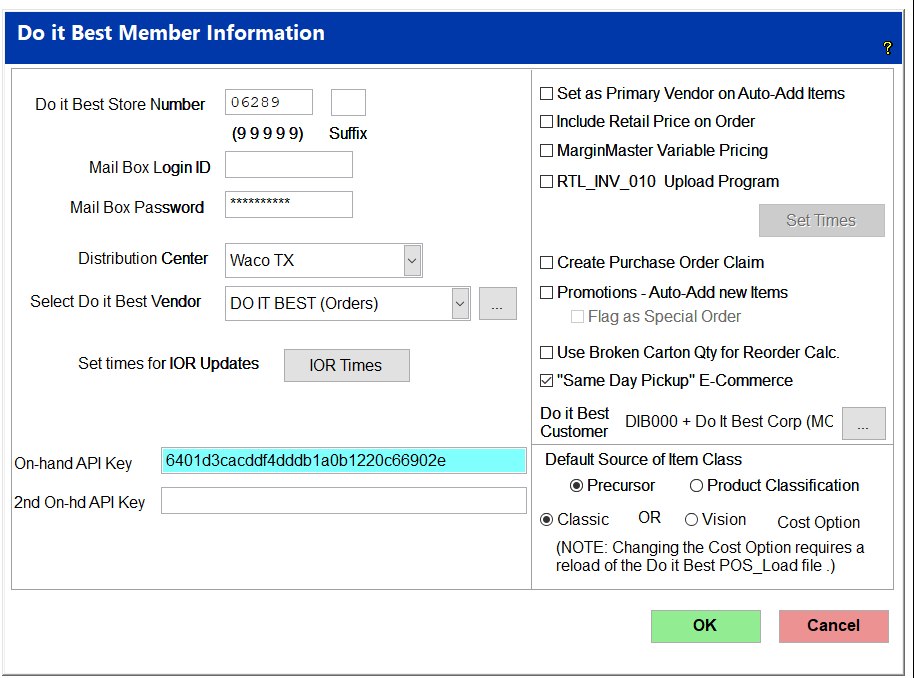
The next step is to assign the customer to the Do it Best MOCE process. Starting from the TransActPOS Main Menu select Options. Then IOR Menu. If the Select IOR Vendor menu appears select Do it Best. The Do it Best IOR Menu appears and then select Utilities followed by selecting the Member Info.
On the Do it Best Member Information screen on the right side is a checkbox for "Same Day Pickup" E-Commerce. Check this box. Below the checkbox for the Do it Best Customer select the Do it Best customer created above. This is the customer account to which the Sales Orders and Invoices are posted.
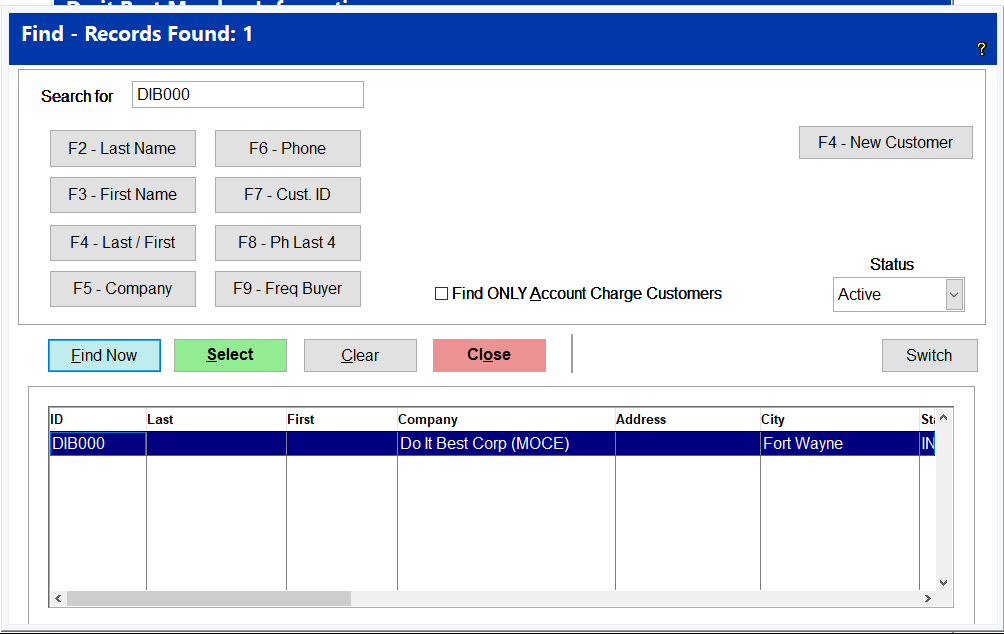
Clicking the button to the right presents the customer search form below.
The customer you selected should now appear below the checkbox.
Close out the form by selecting "OK" and return to the Main Menu.
The next step is to restart the Mercury application. The Mercury application is running on the server computer. Go to that computer and select the Mercury application. Then click on "Stop", then "Close" and then exit the application. The Mercury restarts by itself (this can take up to about 2 minutes).
The uploading of the inventory to MOCE is the next step. Follow these steps below.
-
Exit TransActPOS and reopen.
-
Select Options from the Main Menu.
-
Select IOR Menu then Do it Best if presented.
-
-
-
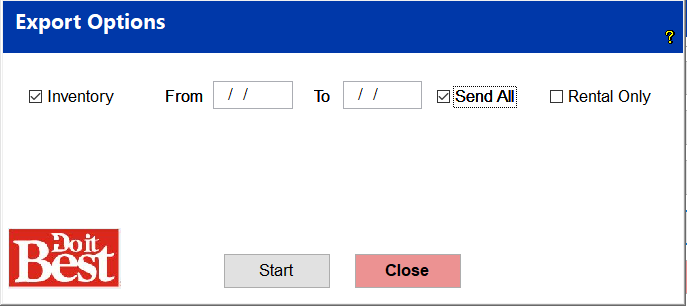
Select MOCE Export presenting the Export Options form.
-
Check the “Inventory” checkbox and the “Send All” checkbox. The “Rental Only” is not currently supported.
-
Then click “Start”. This fills a queue of all items in the stores inventory flagged as DIB and Web Items. Mercury does the actual uploading process. Once completed a “Completed” message will appear.
This completes the MOCE "Same Day Pickup" setup.