09-010-2 Service Tickets Training #2 - Managing Service Tickets
Service Tickets can be accessed through POS | Service Tickets (F3) or Service | Service Ticket
.
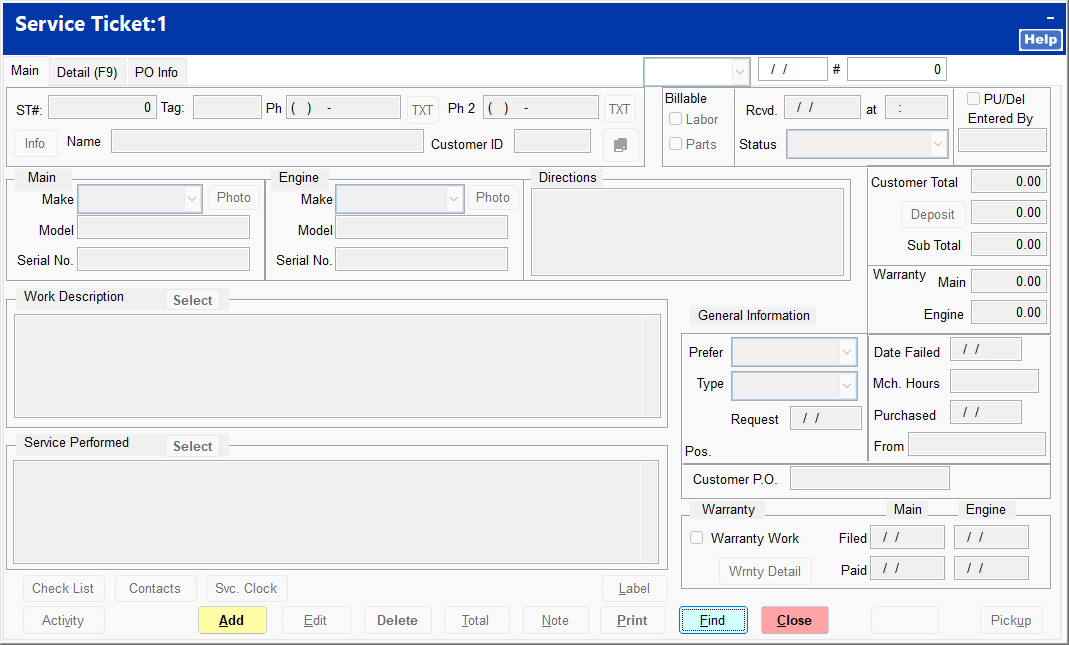
Creating a New Service Ticket
-
On the Service Ticket screen, click Add.
-
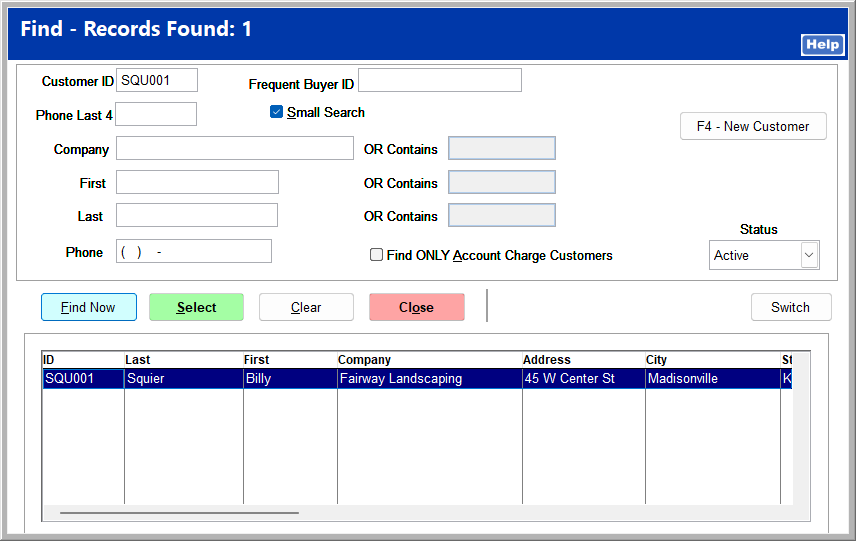
Find the customer by entering a search criterion, or enter a new customer.
-
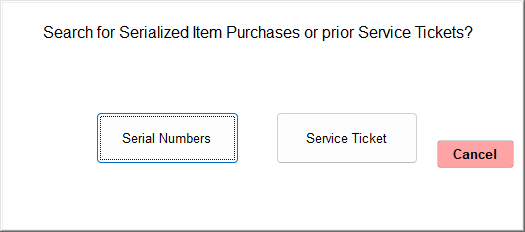
Click whether the repair is related to a serialized item or a prior service ticket. If neither of these apply, click Cancel.
-
If the Service Grid is used, select what kind of ticket to create or click Close to bypass. The new service ticket opens.
-
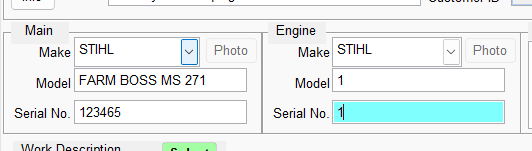
Enter the Main and Engine makes, models, and serial numbers if available. If any information is not available, enter 1 in the field.
-
Choose a preferred service technician and work type. You may enter a requested completion date.
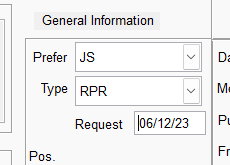
-
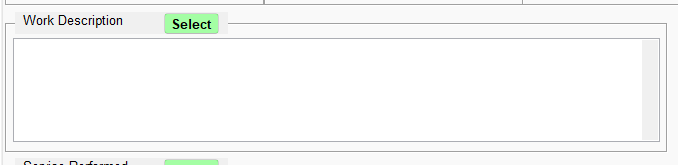
Enter a work description by clicking Select and choosing standard work descriptions or by manually typing in the Work Description field.
-
Click Save.
-
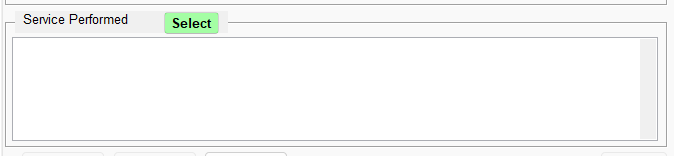
At the end of the repair, modify the ticket and enter the completed work scope by choosing standard service performed or by manually typing in the Service Performed field.
Modifying a Service Ticket
-
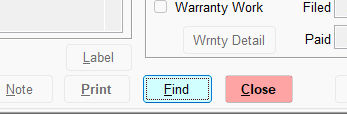
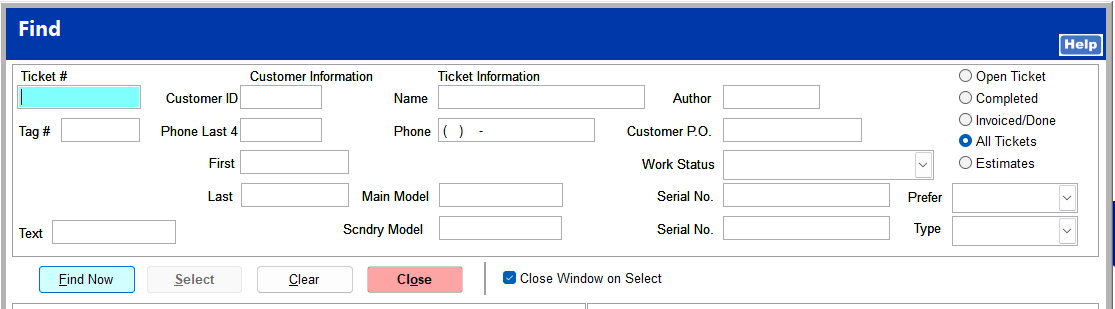
From the Service Ticket screen, click Find.
-
Enter the service ticket number or another search criterion. You can narrow the search to only tickets with a specified status.
-
Click Find Now and select the correct ticket.
-
Click Edit to make changes. Click Save to save changes.
Including Warranty Information
-
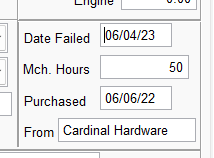
If any portion of the repair work is to be covered under warranty, enter the date failed, machine hours, the date the equipment was purchased, and where it was purchased from.
-
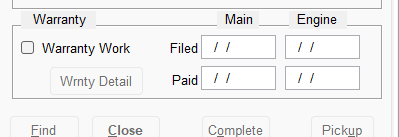
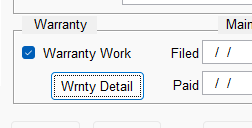
Check the Warranty Work box.
 The Warranty Information screen opens. The make, model, and serial number are automatically transferred from the Main tab.
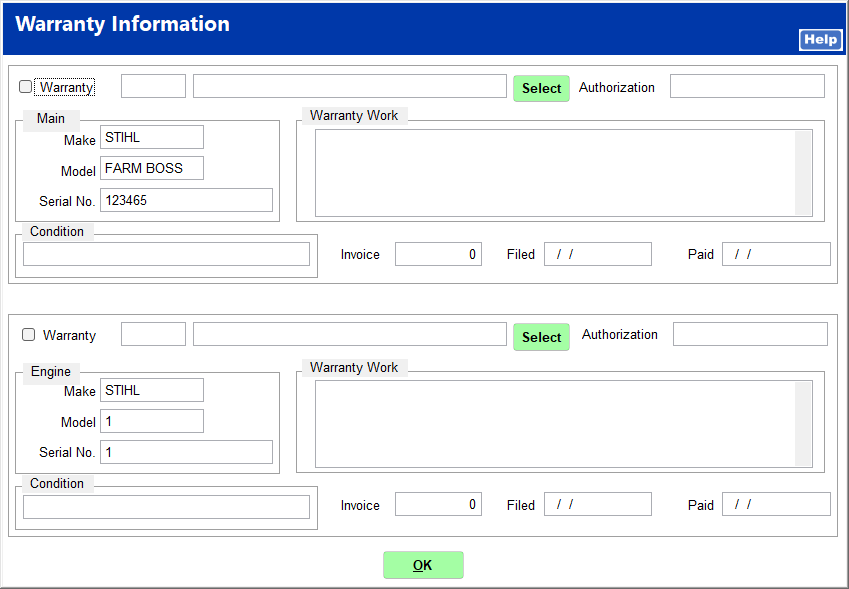
-
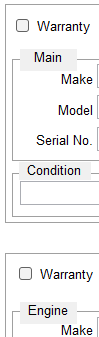
Check the warranty box to indicate whether the warranty work is related to the main body or the engine.
-
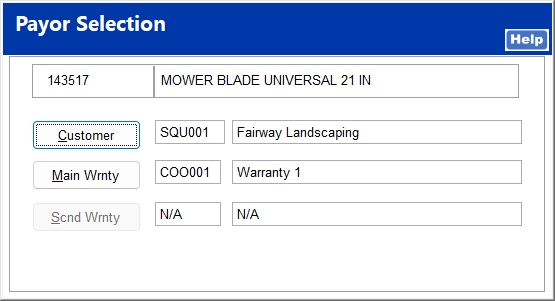
In the respective section, click Select to search for the warranty holder through the Find Customer screen.

-
Enter the warranty authorization number.

-
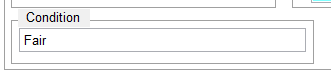
Enter an equipment condition.
-
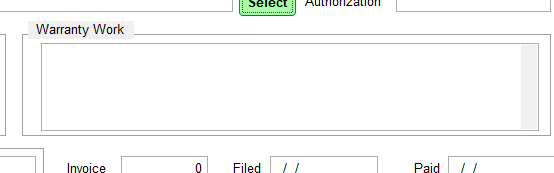
Enter the work scope to be covered under warranty.
-
Click OK.
-
After the warranty has been filed, open the service ticket, click Wrnty Detail, and add the filing date and invoice number. Repeat this after the warranty has been paid to enter the paid date.

Adding Items to a Service Ticket
-
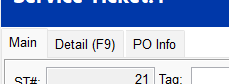
With the service ticket open, click the Detail tab.
-
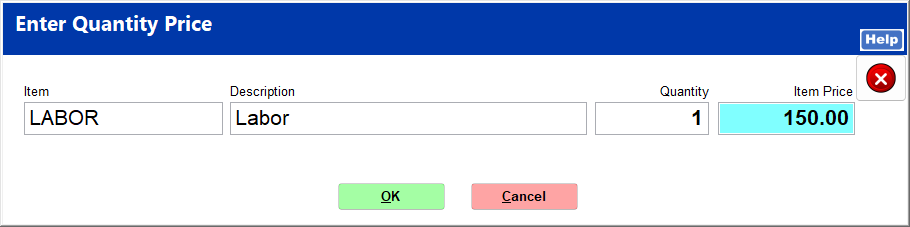
Enter inventory items by typing in the item number or clicking Adv. Search to find an item. Enter Labor as you would an item.

-
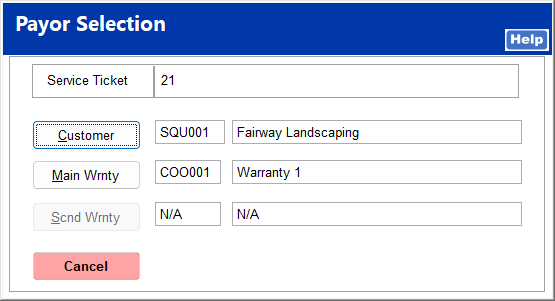
If the service ticket includes warranty work, a window opens for you to select a payor for the item.
-
Click Save.
Creating a PO from a Service Ticket
-
With the service ticket open, click the PO Info tab.
-
picture
-
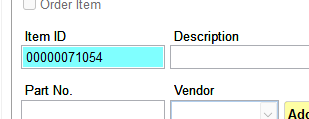
Click order item. On the next screen, enter the item ID and hit the enter key.

-
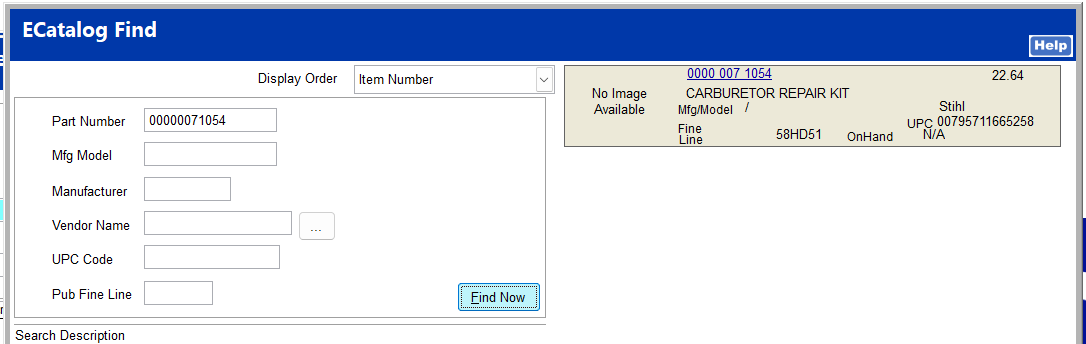
If the item does not appear in the Inventory Lookup screen, click ECatalog.

-
Click Find Now and double-click the correct item in the list.
-
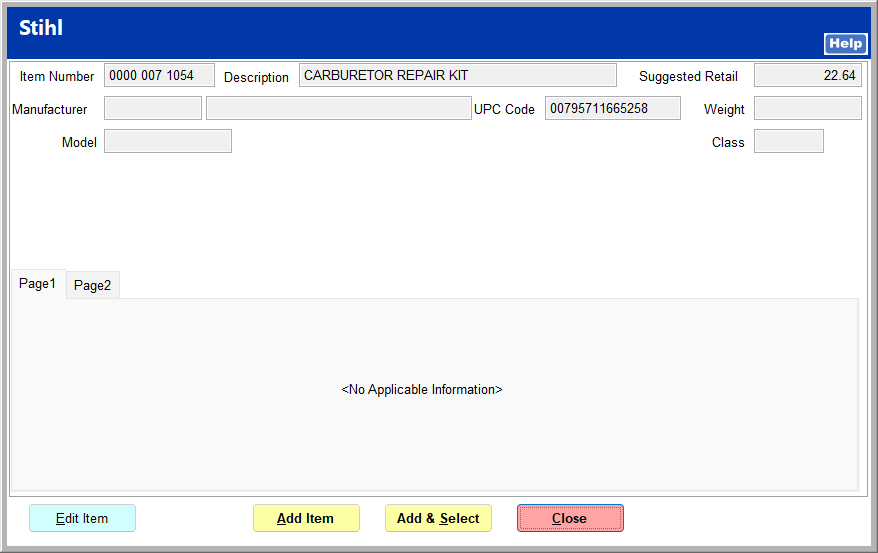
Click Add & Select, and then click Close on the Inventory Item screen.
-
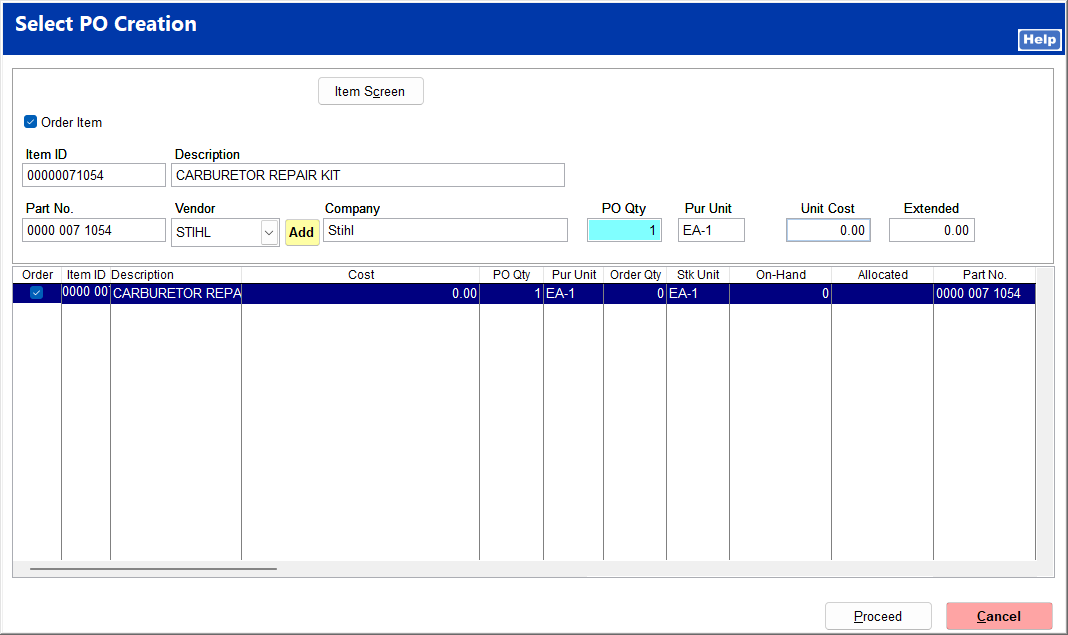
The new item is added to your inventory and to the PO screen. Add the vendor and the item quantity.
-
Click Proceed. You may print or display the PO listing if needed. If there is an open PO to this vendor, the item is added to it. Otherwise, a new PO is created.
Changing Work and Ticket Status
-
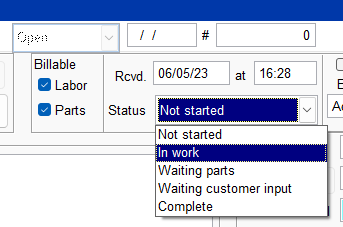
A new ticket is assigned a status of Open. The ticket status automatically changes throughout the process. The work status, or status of the equipment repair, is set to Not Started. This can be changed as the repair progresses.
-
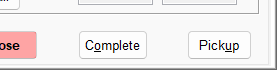
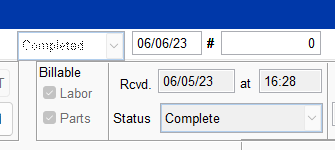
When all work is finished, click Complete. The ticket status changes to Completed with a completion date. The ticket can now be invoiced.
Invoicing a Service Ticket
-
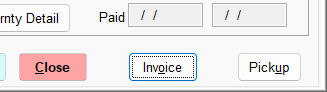
With the service ticket open, click Invoice.
-
If the service ticket includes warranty work, a window opens to select which payor to create an invoice for. The system creates an invoice including only those items applicable to the selected payor.
-
The Ring Sale screen opens. Make any necessary changes, click End Sale, and proceed through the payment screen.