The Reconciliation Screen allows the user to count and enter the cash, checks, and credit card totals present within the cash drawer.
There are two ways to enter into the Reconciliation Screen: through the Close Shift process and through the POS Manager Screen.
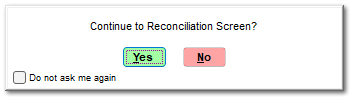
At the end of the Close Shift process, the user is given the opportunity to continue to the reconciliation process. The user is not required to reconcile at shift close, but, if time allows, the process can be completed at this point.
If the reconciliation is not completed at shift close, it can be completed through POS |
Manager Screen.
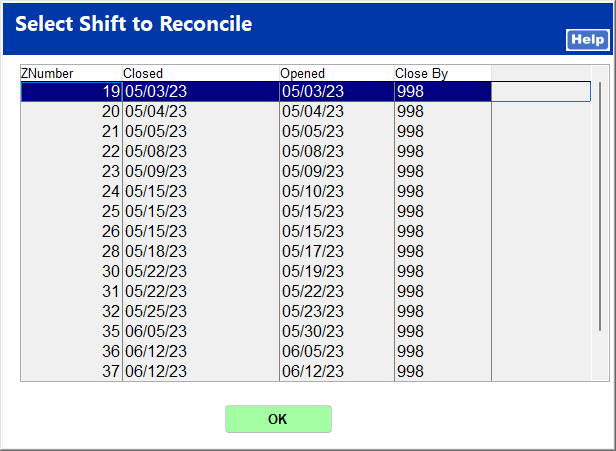
 Reconcile ThisThis allows you to choose the ZNumber corresponding to a shift to reconcile on the workstation you are currently on. Select a ZNumber and click OK.
|
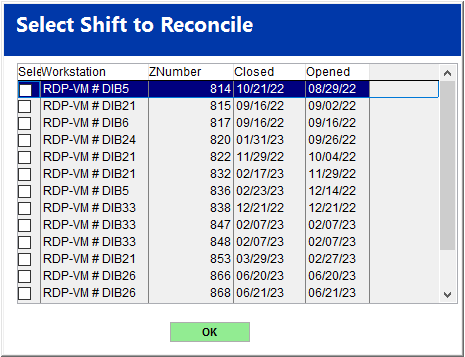
 Reconcile SelectedThis allows you to choose multiple ZNumbers from multiple workstations to reconcile. Select the ZNumbers and click OK.
| | Using Reconcile Selected consolidates all selected ZNumbers into one ZNumber, which makes it more difficult to find over and short discrepancies than reconciling individual workstations.
|
|
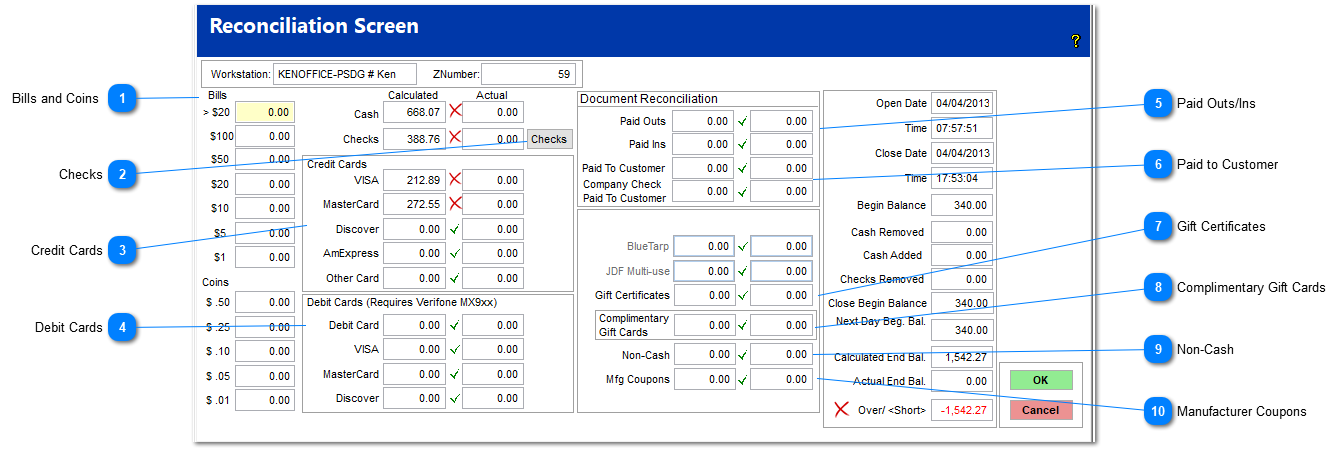
Once the appropriate ZNumber has been selected to reconcile, the reconciliation screen opens. Note that some of these fields may not appear on your screen depending on your payment methods in Company Setup.
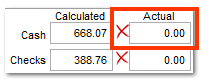
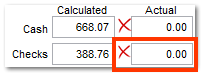
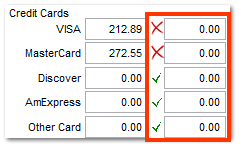
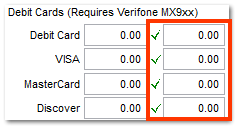
Complete the reconciliation process as follows. As you enter the values in each field, a green check box appears next to the actual field if the calculated and actual values match. If there is a red 'X' next to the actual field, verify the amount you entered.
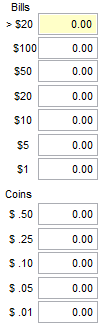
Bills and Coins Enter into the Bills and Coins fields the actual value of each currency. For example, if there are 8 $20 bills in the drawer, enter $160. These fields are automatically totaled in the Cash | Actual field.
|
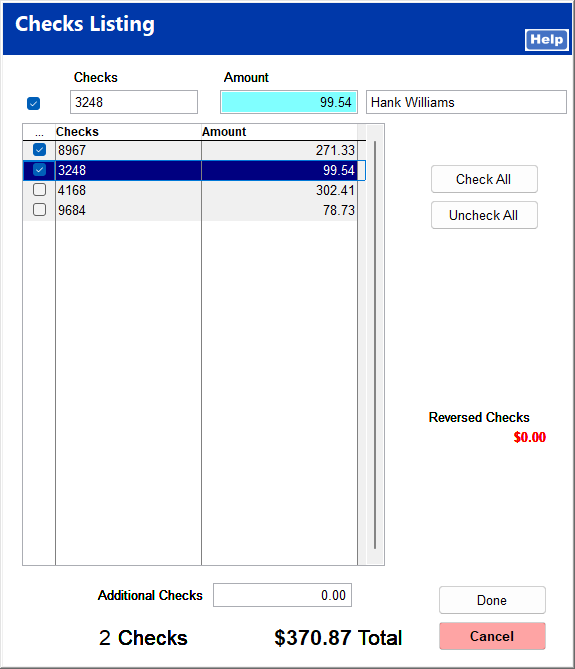
ChecksClick Checks to open the Check Listing.
Confirm the checks listed match the checks in the drawer. You can select each check individually or click Check All. Click Done to return to the Reconciliation screen.
Enter the total check amount in the Checks | Actual field.
|
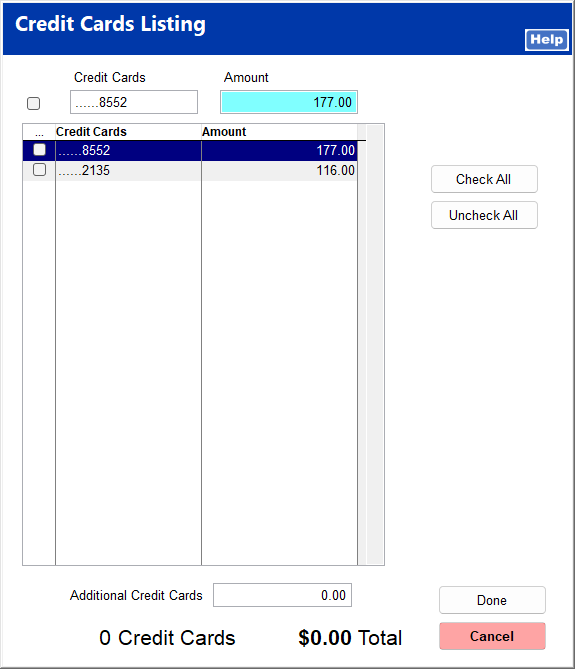
 Credit CardsClick Cards to open the Credit Cards Listing.
Check the credit card charges. You can select each charge individually or click Check All. Click Done to return to the Reconciliation screen.
The total for each credit card type is entered in its respective actual field.
|
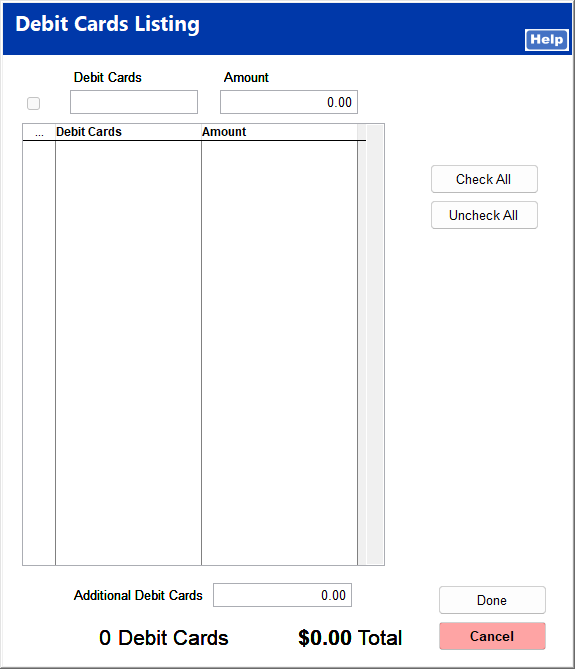
 Debit CardsClick Debits to open the Debit Cards Listing.
Check the debit card charges. You can select each charge individually or click Check All. Click Done to return to the Reconciliation screen.
The total for each debit card type is entered in its respective actual field.
|
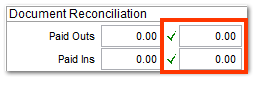
 Paid Outs/InsEnter the totals for paid outs and paid ins in their respective actual fields.
|
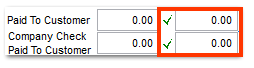
 Paid to CustomerEnter the totals paid to customers by cash or company check in their respective actual fields.
|
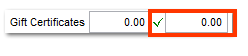
 Gift CertificatesEnter the total gift certificate amount in the actual field.
|
 Complimentary Gift CardsEnter the total complimentary gift card amount in the actual field.
|
 Non-CashEnter the total non-cash amount in the actual field. This includes electronic payments, like ACH payments.
|
 Manufacturer CouponsEnter the total manufacturer coupons in the actual field.
|
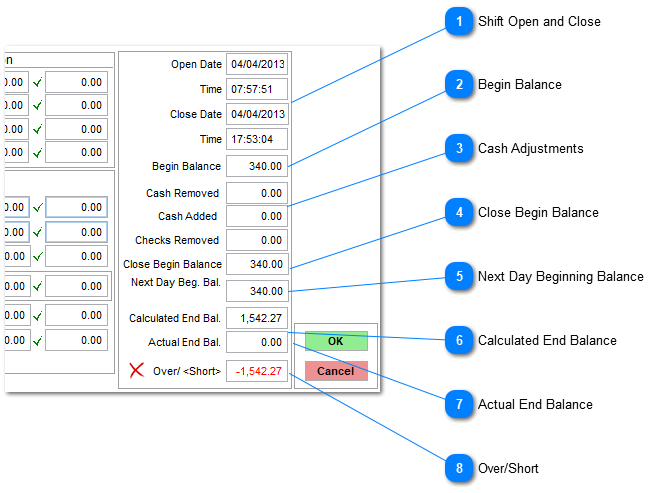
The information at the right of the reconciliation screen show summarized information for the Z-number.
Shift Open and CloseThese are the dates and times that this shift was opened and closed.
|
Begin BalanceThis is the amount of cash in the drawer counted and recorded at the beginning of the shift.
|
Cash AdjustmentsThese are the amounts of cash removed from or added to the drawer during the shift.
|
Close Begin BalanceThis is the net beginning balance based on any cash adjustments made.
|
Next Day Beginning BalanceThis is the calculated value of the next day's beginning balance. It can be edited if you wish to start the next shift with a different amount, in which case the reconciliation report tells the amount to take out of the drawer. If you edit this field manually, a negative amount shows in the GL account "Petty Cash" on the GL Distribution report.
During the next Begin Shift process, this amount is automatically entered as the beginning drawer balance.
|
Calculated End BalanceThis is the total of all amounts that the system expects to be in the cash drawer.
|
Actual End BalanceThis is the total of all the amounts entered into the reconciliation screen. This should equal the total amount in the cash drawer.
|
Over/ShortThis is the difference between the calculated and the actual ending balances. It is automatically updated as amounts are entered into the reconciliation screen.
|
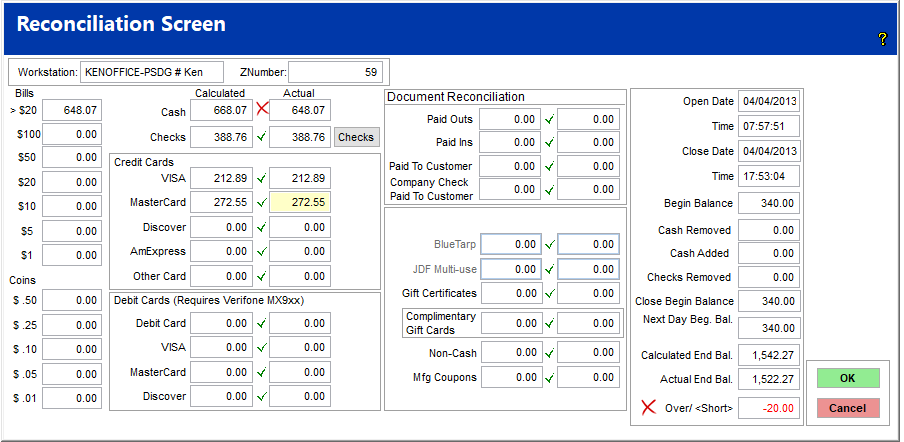
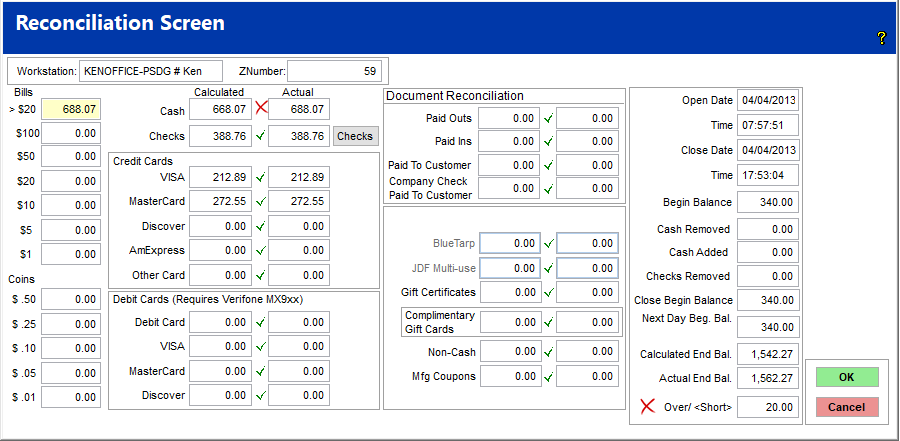
When all actual amounts have been posted, the Over/Short value should accurately reflect any discrepancies. If the value is positive, the drawer contains that amount over the expected value. If this value is negative, the drawer is short that amount of cash receipts (cash, check, credit card, and manufacturer coupon). If the value is zero, the calculated and actual amounts match, and the drawer is balanced. If it is not balanced, the system automatically creates the appropriate journal entry as indicated by the Over/Short account within the system setup. Note that if the clerk does not appropriately categorize receipts, the total of the drawer balances but the categorization is incorrect. For example, if a check is posted as a cash posting, cash appears over and checks appear short.
Below are examples of the reconciliation screen with an over balance and with a short balance.
Drawer Short by $20
Drawer Over by $20
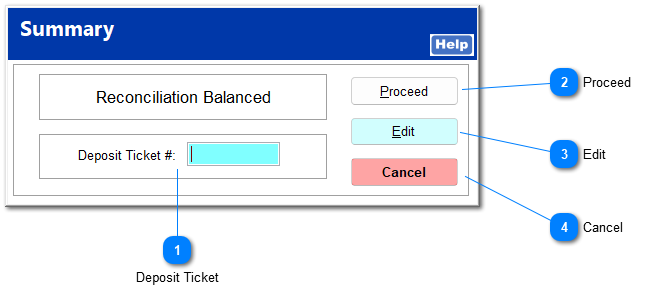
Click OK to continue to the reconciliation summary.
Deposit TicketYou can enter a deposit ticket number if available.
|
ProceedClick Proceed to complete the reconciliation process. A window opens to allow you to print the reconciliation report.
| For detailed information on the reconciliation report, see POS | Reports | Reconciliation.
|
|
EditClicking Edit returns you to the reconciliation screen to edit any actual values entered.
|
CancelClick Cancel to end the reconciliation process. All postings entered in the reconciliation screen are deleted, and the drawer must be reconciled later. The shift remains closed.
|