Grid Layout POS
The POS Grid is a series of customizable boxes that allows a clerk to quickly find items to enter into a sale. It could be used to capture bulk items and other items that may not have a barcode, items that are stocked outside, or the entire store inventory. Each box can contain its own grid, allowing you to create many layers of categories and sub-categories. Pictures and descriptions can be added to each box for easier identification.
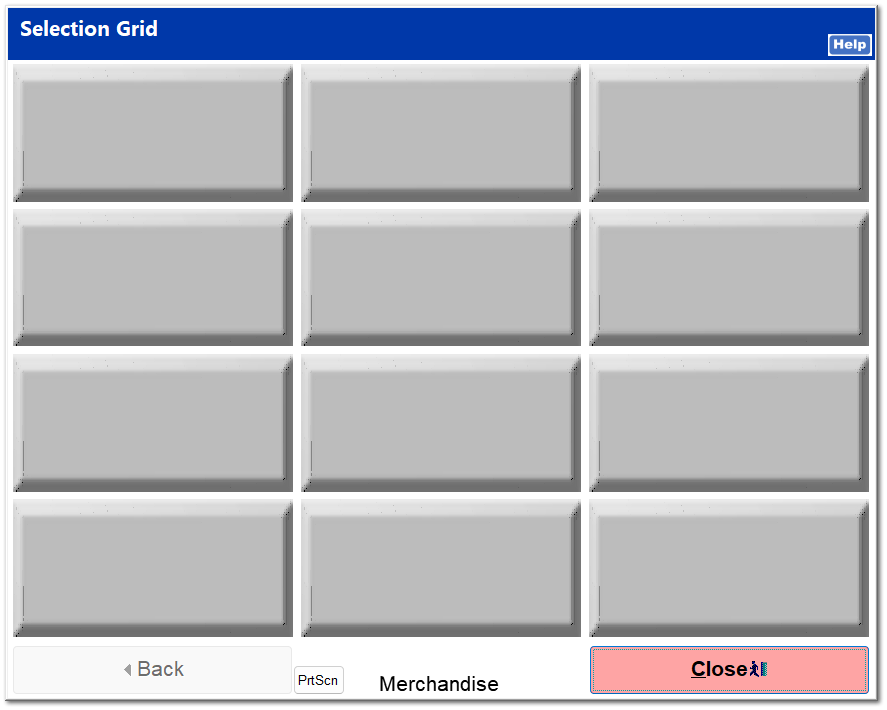
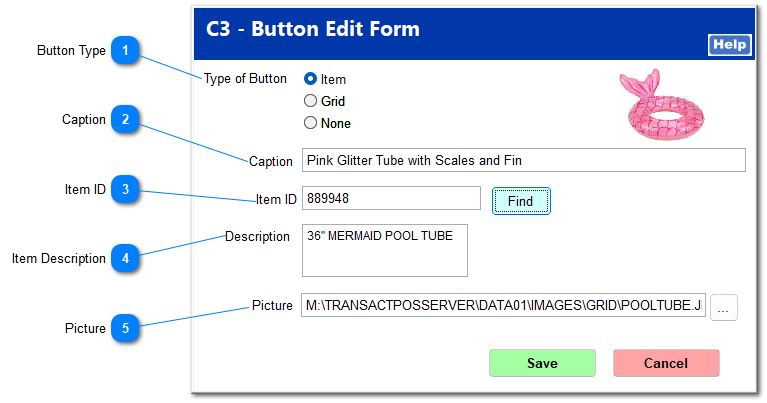
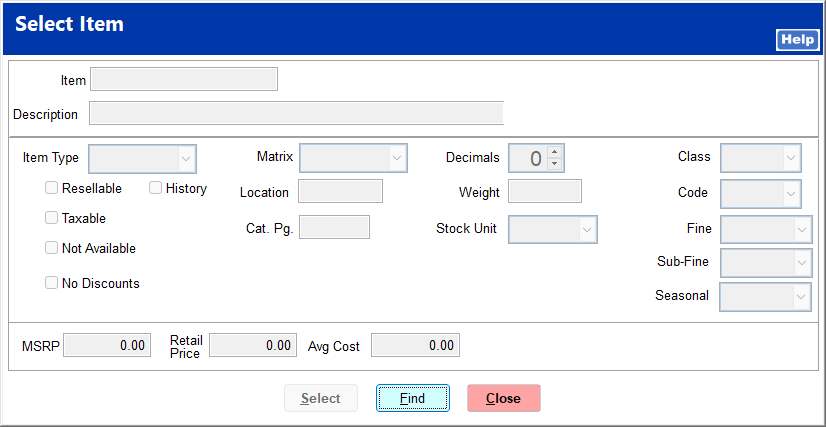
Upon clicking Grid Layout the first time, a blank grid opens. Right-clicking on a box opens a window that allows you to edit that box. You can specify what type of button it is, write a caption to appear on the box, add an item, and include a picture to appear on the grid.
 Item creates a single inventory item button.
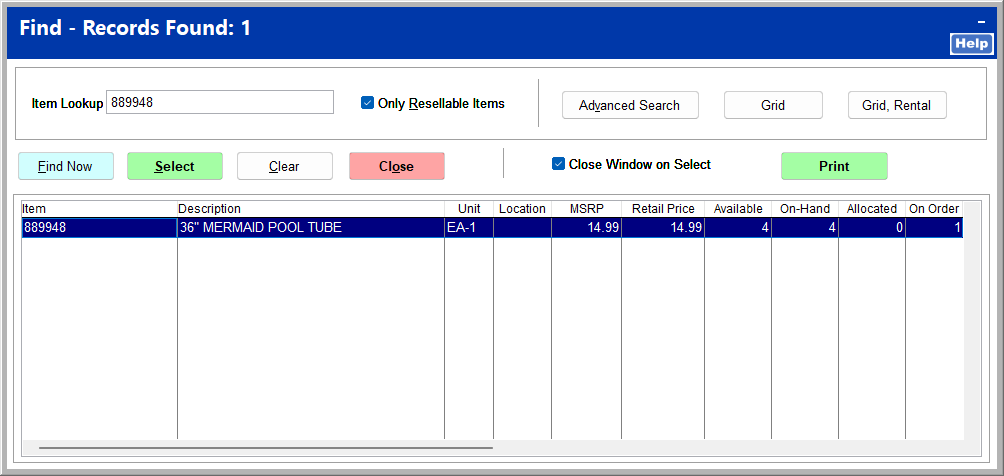
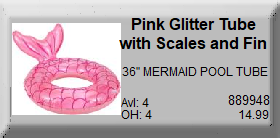 An item button displays the picture, caption, item description, item ID, price, available quantity, and on-hand quantity. You can turn off the display of available quantity and on-hand quantity in System | Company Setup | POS Information 4.
Grid creates another layer of grid inside the button.
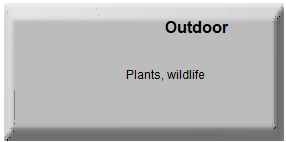 A grid button can contain items and/or grid buttons.
 None removes all previous designation and makes the button blank.
|
