SO2PO Process
The screens on this page are using the "Use Enhanced Sales Order Details Form" option in the System | Company Setup | Properties | Sales Orders 2.
|
By using TransActPOS, you can eliminate the hassle of creating a quote for a customer, converting the Quote into an Sales Order, creating the supporting purchase order from the vendor(s), and/or during this process, ringing additional non-order items along with the "to be ordered" items. This process is known as SO2PO (Sales Order to Purchase Order).
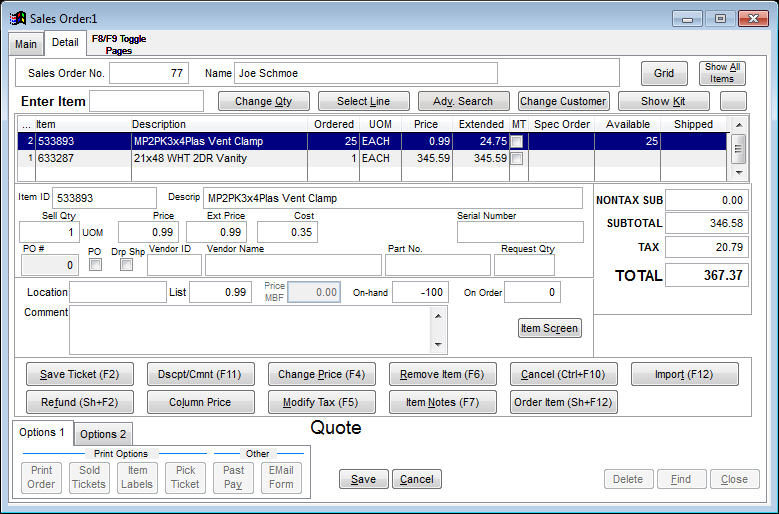
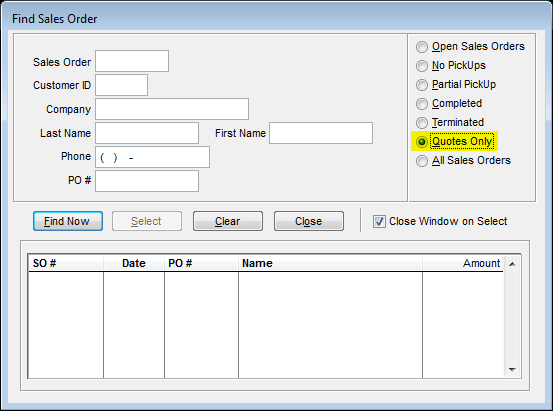
Creating a Quote
Creating required Purchase Order(s) from the Sales Order
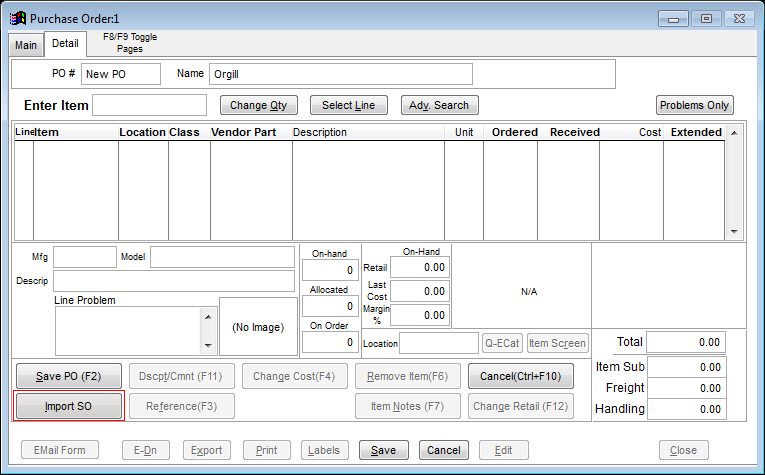
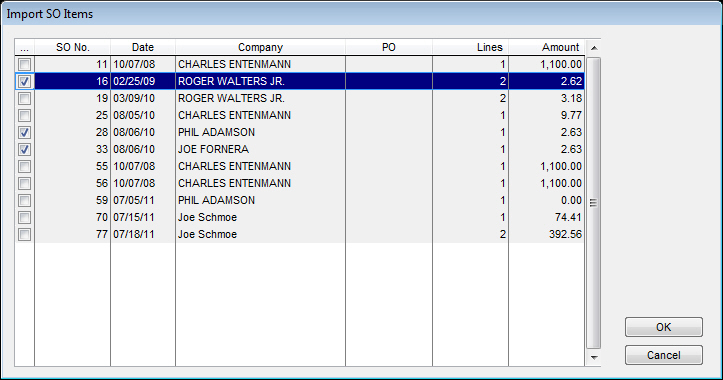
There comes a time when the items on a sales order will need to be ordered from a vendor for the customer. Some of these items are not normal restock items or the reorder process may have ordered 5, but you need a sixth for a customer. To create a PO from an existing SO, you can do one of two things. One way is to go to the PO module and click on Create PO. From here, you must find the vendor you need to order the item from (this could be hard to tell without the Sales Order, which is why the second way is easier). Once the vendor is found, clicking on the Detail tab will allow you to click on Import SO and you can select the sales order to import into a new purchase order.
A benefit to using this method is that it allows you to import multiple sales orders into one PO. Select the sales order(s) to import and click OK.
From the selected sales order(s), you can select the items to import into the purchase order.
Once all items are entered into the purchase order, click Save PO.
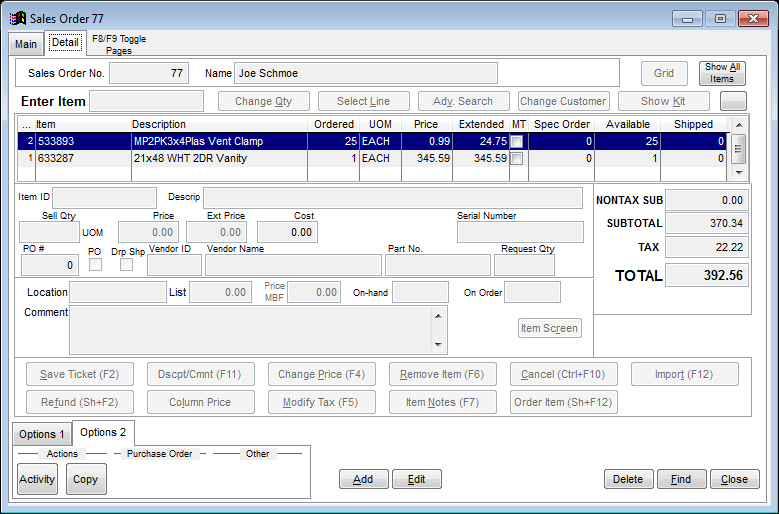
The other way to do this is to locate the sales order you wish to create a PO (or multiple POs) for. Once the correct sales order has been pulled up, click on the Options 2 tab (bottom left) and click Create POs.
Once Create POs has been clicked, the Select PO Creation screen pops up. You must select each line item and identify if the item is an order item and/or if it is a drop ship item (Drop Ship only becomes available if a mailing address is available for the customer on the Main tab).. You can also see what vendor will be used to order the given item and other information. You can choose to change the vendor on this screen and change the order quantity if you need to. To select each line item, you must use the Next and Back buttons.
By clicking Proceed, you are creating the PO(s) for the item(s). When PO creation is complete, you can print the orders and/or display them on the screen. The report it is prompting you for is a PO Listing report, which lists the items on order and what vendor they are being ordered from. After you have done the appropriate task, you can click Cancel to finish creating the PO(s). To view the PO created, go to the PO module and click on Modify PO. Find the correct PO and apply any edits or just view the order.
This process allows for ease of creating similar orders throughout each step. You want to ensure that the customer gets what they want. Doing a quote will allow the customer to confirm if it is exactly what they want. If it is, instead of creating a new sales order from scratch and potentially messing up the order specifications, you can convert the quote straight to a sales order. To ensure the vendor gets the exact specification on the order item, you can convert the sales order to a purchase order. After the PO process, you receive the PO as normal and once the item is received, you can pull up the Sales Order for the customer and allow for pickup/payment as necessary.