(c) Profile Systems Design Group, Inc. 2026 Build: 4.008.811 Help ID: 496
If you do not see the expected content,press CTRL + F5 to clear your Browser's cache.
Check Lists
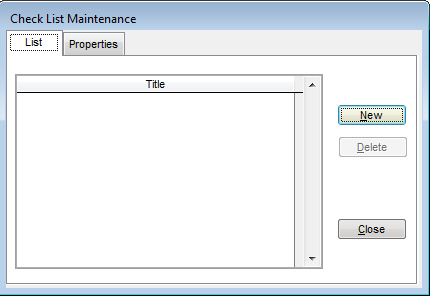
Much like other Maintenance screens within the Support Files, clicking New in the List tab will create a new Check List. Delete will get rid of the currently highlighted Check List and Close will return you to the Support Files selection screen.
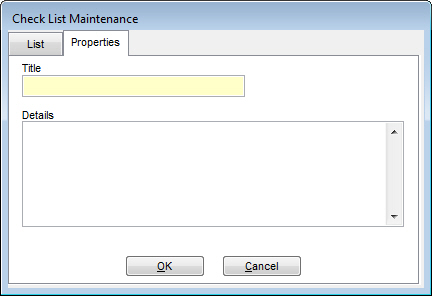
On the Properties tab, you can enter a Title to reference the check list and enter the list details in the Details box. Once the check list is completed, click OK to save it.
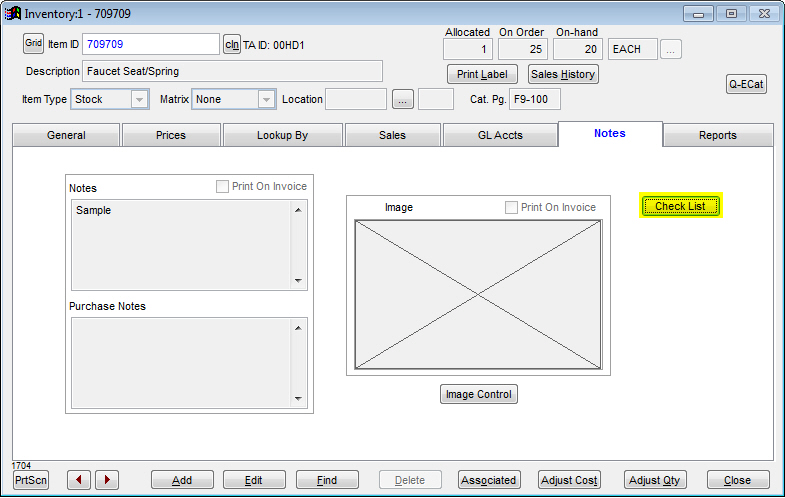
To assign this check list to an inventory item, find the item you want in your Inventory File and click the Notes tab. In the top right of this tab, click the Check List button to assign any check lists to the item to appear on Service Tickets.
Now that the item has an assigned check list, you can create a sales order with the item listed. Once the order is created, click the Check List button to automatically create a Service Ticket with the check list on it. See the images below for an example.