What is a Payment Center? Do you take payment for a business other than your own? A payment center allows customers to make payments at a workstation for entities such as the phone company, state contractor permits, or cable company.
If you are to receive the payments for other entities and then periodically send the total of the collections to the entity, follow these instructions to streamline the process. With some minor changes to a standard AR Customer account, the TransActPOS system can assist with the management of these accounts. The following steps explain how to set up the customer account to receive the payments. Separate AR customer accounts will be needed for each company you collect payments for.
Step 1 - Create Payment Company
Create a customer with a customer ID for the payment company with the following parameters:
1. Enter a customer ID for the payment company
2. Set customer to "No Charge" account on main screen
3. Enter "***" in the company name. - Three asterisks
4. Enter the actual company name and address information starting in the ADDRESS field.
5. Enter an appropriate code for Type such as "PC" to aid in printing reports
7. Check the Display Comment box and enter a Comment for the salesperson to enter the customer's name for the Company name at the time of payment
The "***" indicator will do the following:
-
Prompt the salesperson to enter the customer's name
-
Print the customer name entered during the payment
-
Omit the prior balance, last payment, and current balance normally seen on a payment receipt
Step 2 - Accepting Payments
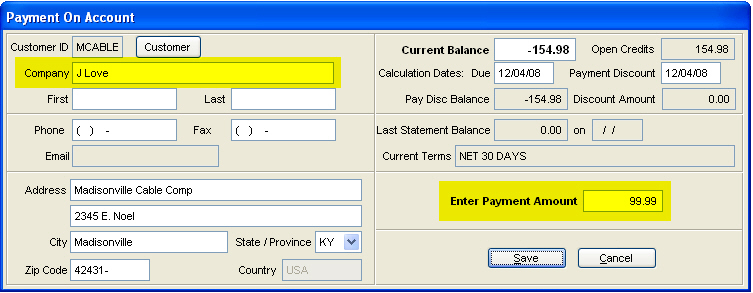
From POS | Payments | Pay on Account, select the appropriate company for receipt of payment. The Find ONLY Account Charge Customers box must be unchecked to find the proper company since they are "No Charge" accounts. Enter the customer's name for the Company name and enter the amount being paid.
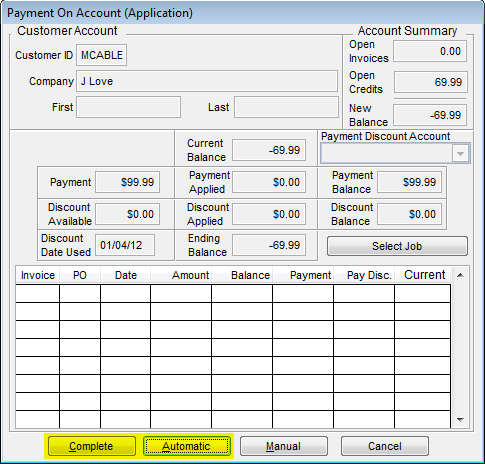
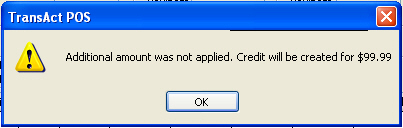
Select Save and then Next to proceed with the processing of the payment. Then select the type of Payment on Account Method and accept the amount tendered. The Payment on Account (Application) screen will then be displayed. Select the Complete or Automatic button at the bottom to post the payment to the general ledger.
The payments will be accured as a "customer" credit.
Step 3 - Reporting Payments
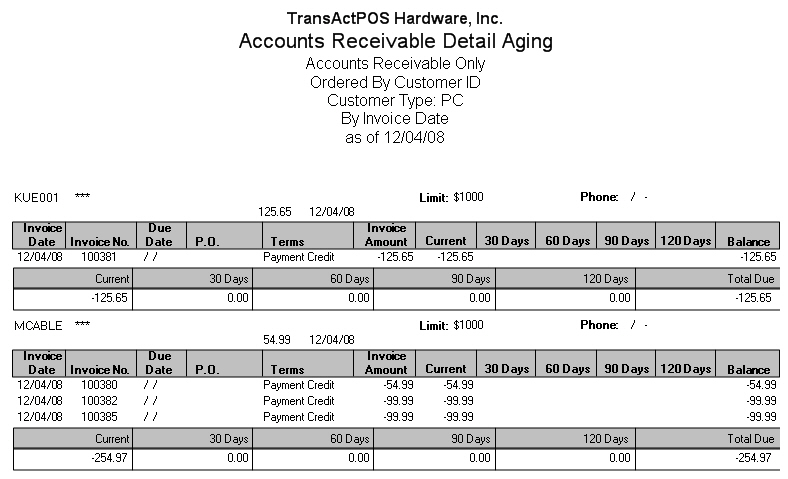
Run the payment company's ID in AR | Reports | Aging report to show the posted credit payments. The report can be limited to the Customer ID and/or Type with the Show Credits Only box checked.
Step 4 - Crediting Payments made to the Payment Company
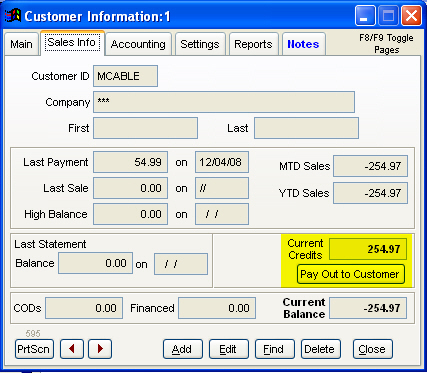
Select AR | Customer File | Sales Info | Pay out to Customer to indicate the reduction in customer credit. The total Current Credits will be displayed on the Sales Info tab screen along with the Pay Out to Customer button if there is positive credits.
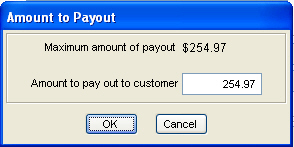
Enter the amount to be paid out if different than the displayed default amount of the total Current Credits and click on OK.
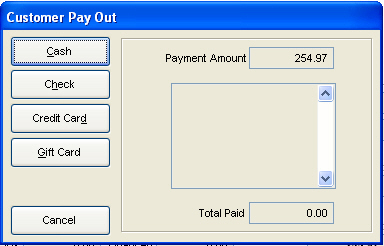
Select the method of payment.
This completes the payment process in TransActPOS. Collect the appropriate documentation and payment to then be sent to the payment company.