(c) Profile Systems Design Group, Inc. 2026 Build: 4.008.811 Help ID: 1470
If you do not see the expected content,press CTRL + F5 to clear your Browser's cache.
Donations
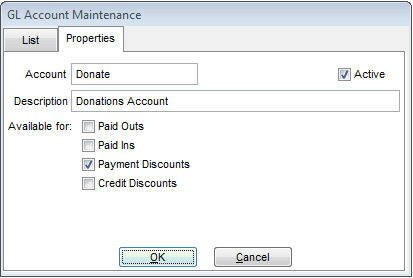
The following guide will help you easily set up GL Accounts for donations and to make sure the inventory is affected properly and your GL Assets show the right numbers. The first thing you want to do is create a GL Account (or multiple) for a type of donation. To do this, you must click System | Support Files | GL Accounts. In the following example, an account with the name "Donate" is created and the "Available for" boxes are checked as follows.
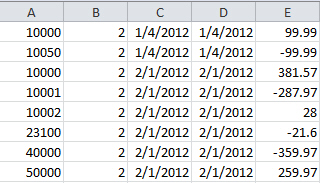
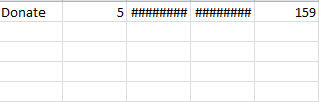
If you do a GL Release before making the donation sale, you will see the most current GL Effects. (Note, the following picture is from the Excel file created by doing the GL Release; for more information, click here)
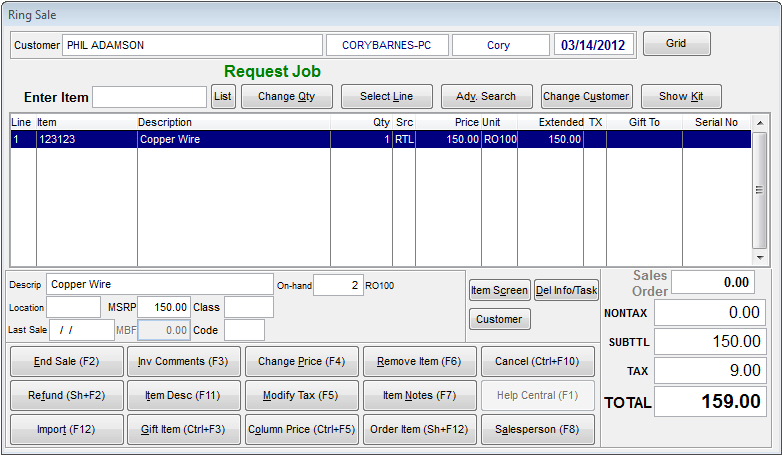
Once the account has been created, make a sale (on the customer that is receiving the donation. This will correctly affect your inventory.
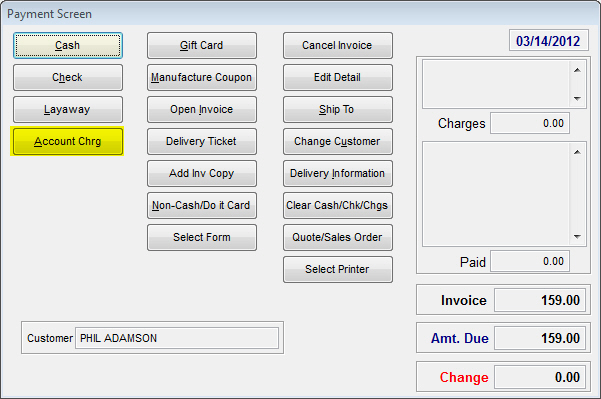
When all donated items are entered, click End Sale and choose Account Charge as the payment type.
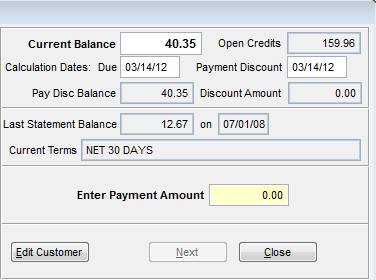
Once the sale has been completed, click on AR | Payments. Once in the Payment menu, click on Pay on Account. Here, find the customer you just donated the item to. When asked to enter a payment, enter 0.
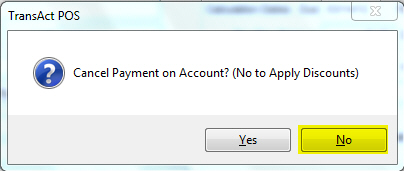
When you enter 0, you will be asked if you want to "Cancel Payment on Account?" Click No to assign the Donation account to the invoice.
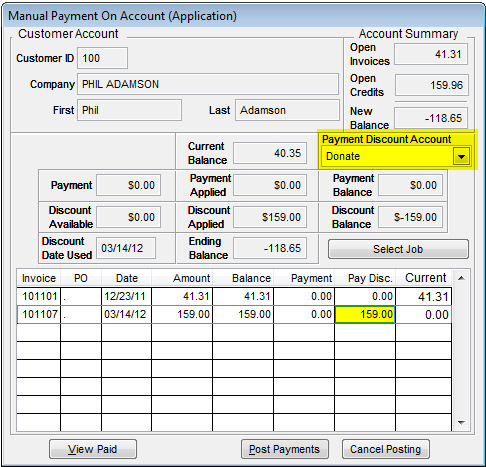
You will be brought to the Payment on Account (Application) screen. Here, you want to click Manual at the bottom. This will allow you to enter dollar amounts on the invoices and change the GL Account to post the payment to. You can see in the example below that the Donations account has been selected in the Payment Discount Account and the dollar amount for the donation has been entered in the Pay Disc. column on the correct invoice.
Click Post Payments to finish this step. If you click back on System | GL Release and look at the changes made to the GL Accounts, you will see the Donation of $159.00 affecting the account.