(c) Profile Systems Design Group, Inc. 2024 Build: 4.008.701 Help ID: 1369
Creating Rental Items
Creating a new rental item within the inventory is almost the same as creating a normal inventory item.
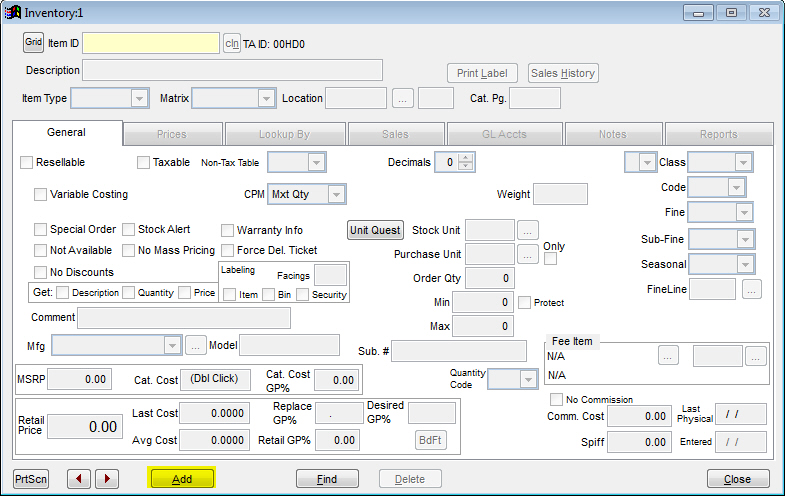
First, go to IC | Inventory File and click the Add button (if the Find screen appears, close it to find the Add button).
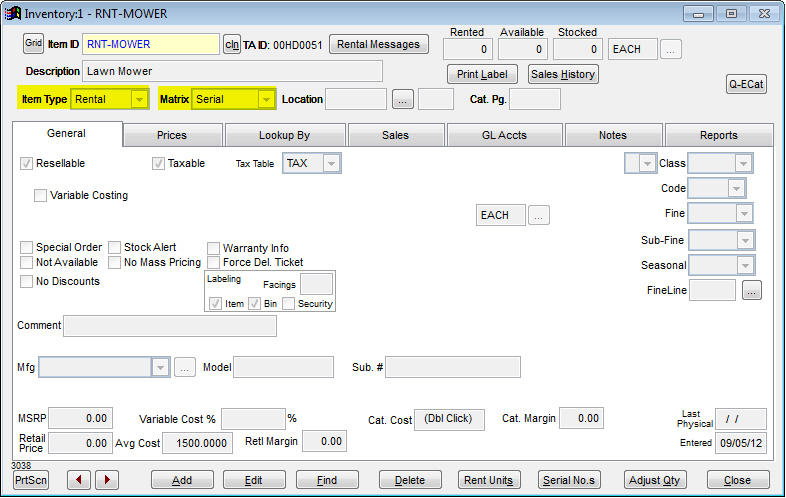
Using the New Item Wizard, enter the Item Number, Item Description, Vendor, and the Vendor Part Number. Click Save to save this item to the Inventory file. Once you are back to the Inventory screen, click Edit to make this new item a Rental item. The main fields to change is the Item Type (to Rental) and Matrix (to Serial ONLY if the rental item is serialized).
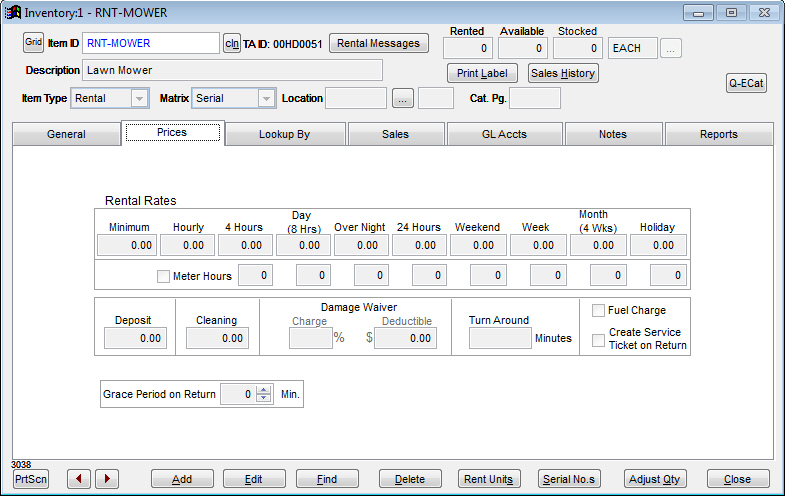
When these fields have been changed, click on the Prices tab to alter the pricing for this specific rental item. Here, you will need to enter the rental rates according to the item you just entered. If the item has meter hours, check the meter hours box and enter the appropriate hours for each rate. You can also designate the deposit, cleaning fee, damage waiver, turn around time, fuel charge, service ticket, and/or grace period on return. Once the fields have been entered, click Save to save the item to the inventory.
In order to receive items into your inventory for this new item entry, you must utilize the Adjust Qty option on the General tab. For more information on using the Adjust Quantity feature, click here.