Terminal Server Client: Saving a file from Terminal Server workstation
When you connect to the Terminal Server, there may be certain files from TransActPOS that you want to save in a place that is accessible outside of the Terminal environment. The following example shows how to set up your connection in a way that you can save files on your local workstation.
Setup of a Terminal Server connection to access your local directory
First thing is to double left click on your Remote Connection icon. The icon should look similar to the one below, but the title may be different.
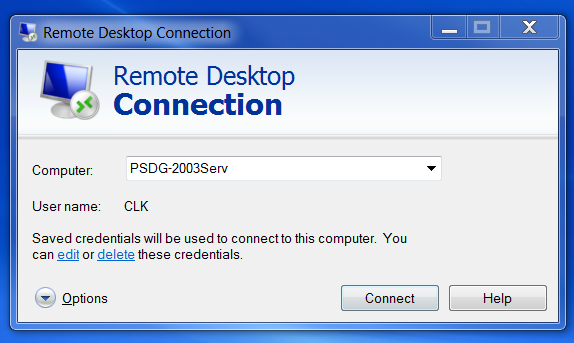
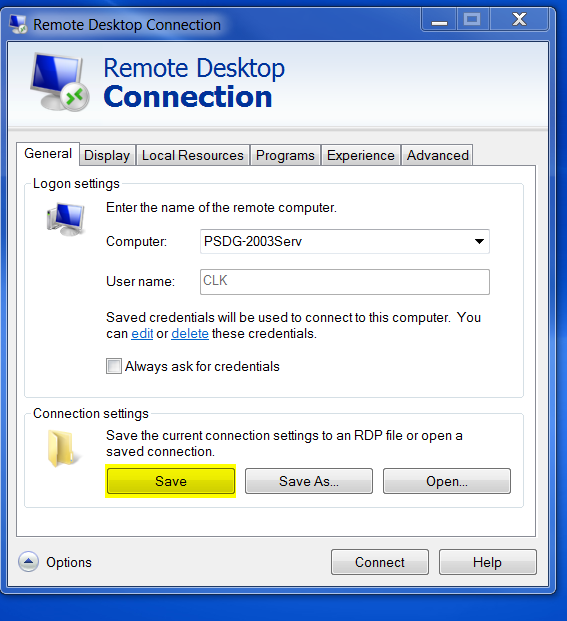
When the program opens, you should see a similar screen to the one below.
Before clicking Connect, we need to setup some things. Click the down arrow to the left of Options.
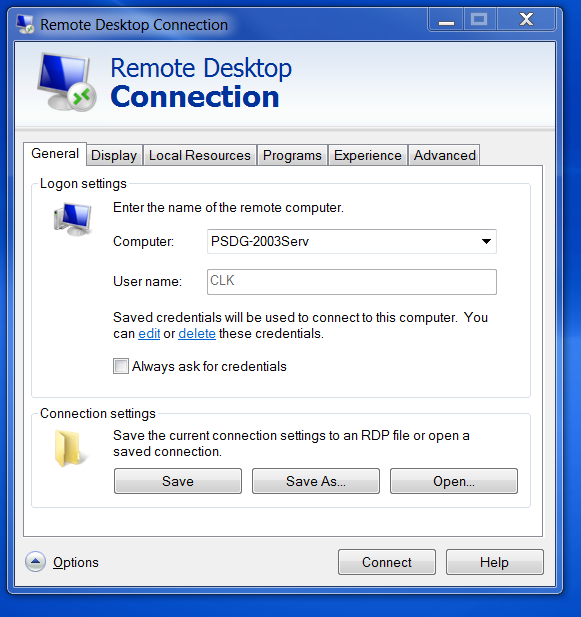
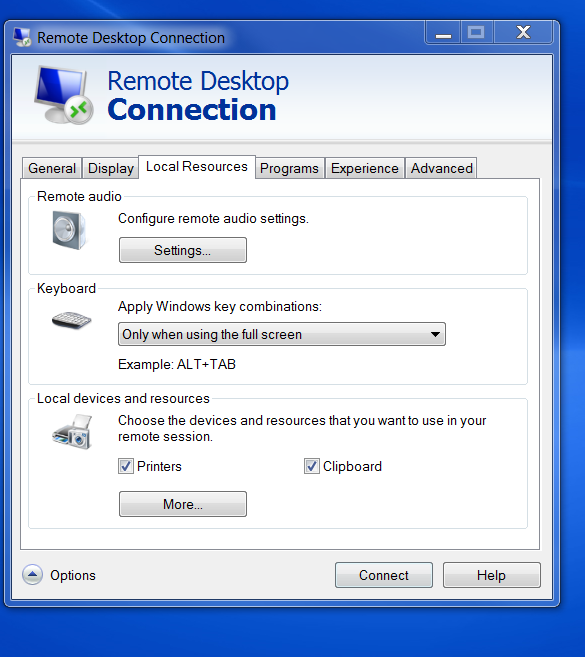
From here, click on the Local Resources tab to setup the connection to save files to your local drive.
Clicking on the More... button will get you to the setup screen you need. On this screen, click the check box next to C: in the Drives section (name may be different, but it is highlighted in the picture below).
Click OK and click on the General tab again. On here, near the bottom, you will need to click the Save button to save the settings so you won't have to do this process every time.
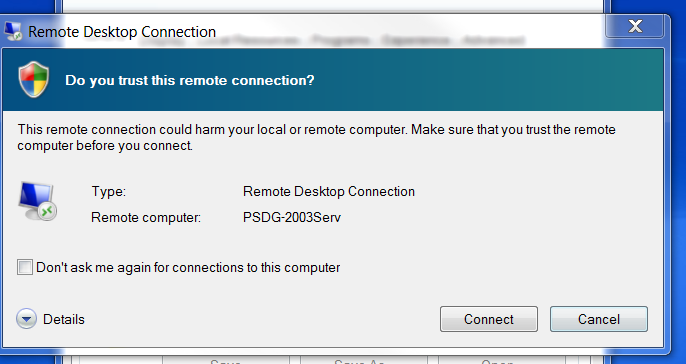
Once it has been saved, click Connect. If the system asks if you trust this remote connection, check the "Don't ask me again" box and click Connect.
Accessing your local drive when using a Terminal Server connection
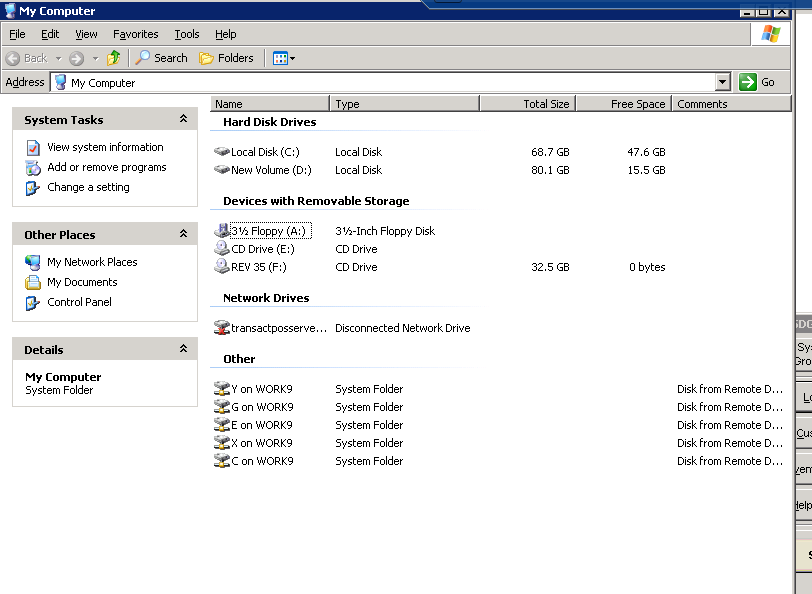
You should now be connected to the computer remotely. Before we attempt to save a file, let's double check to ensure the settings worked. If TransActPOS is maximized, minimize it so you can access the desktop. From the desktop, click on the Start menu and navigate to My Computer (or Computer on some operating systems). If the settings were setup correctly, you should see (under Other) something titled "C on Work9" where Work9 is the name of your local workstation.
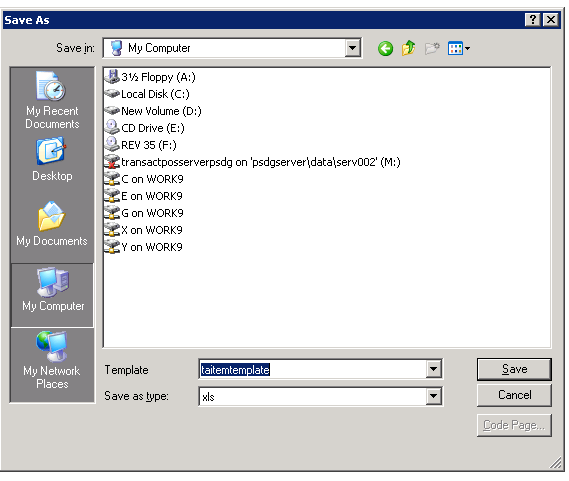
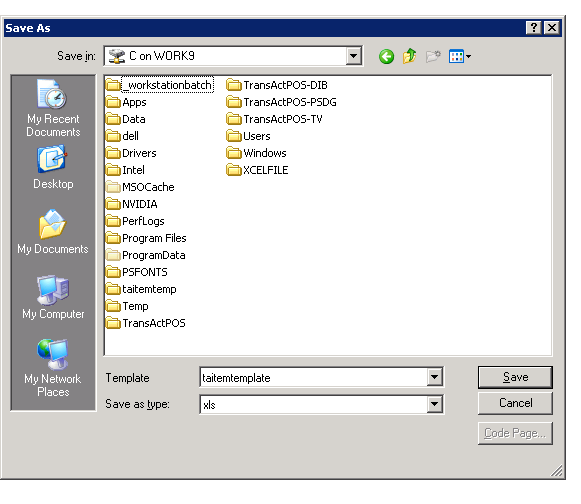
Now, when you are exporting or saving a file from TransActPOS, you can select C and save the file to a local directory on your system.