United Hardware Pricing Screen
The United Hardware IOR Pricing screen is a collection of utilities that allows the user to change retail prices that have been set in the received MRI invoices and to print labels for them. Upon selecting the IOR Pricing Screen, the user will be presented with the Select Invoice screen. The user selects one of the entries in the text box and then presses Select to work with that set of Invoices. Each group is a file containing invoices that are on the consolidated invoice from United Hardware. It will be in order by date received.
Step by step instructions to update new retails from a United Hardware Consolidated Invoice and print labels of for price changes.
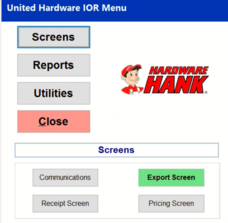
Go to Options – IOR Menu and then select Pricing Screen (lower right-hand area)
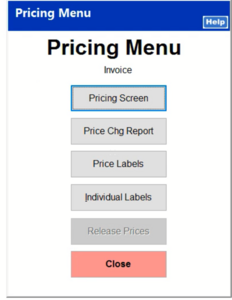
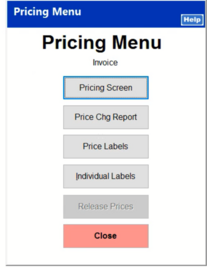
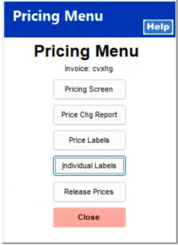
After selecting Pricing Screen, you will need to select Pricing Screen on the Pricing Menu
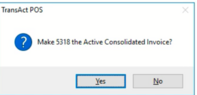
You should then receive the following prompts.
"Make #### the Active Consolidated Invoice"
Select Yes to keep the indicated invoice as the active referenced invoice during the pricing process.
Select No to choose a different invoice from the list provided.
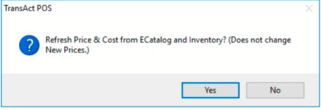
Once the Consolidated Invoice is chosen, the next prompt "Refresh Price & Cost from eCatalog and Inventory (Does not Change New Prices)". This prompt allows the system to update the prices shown to what's in the catalog replacing the values that came on the invoice.
Typically, No would be chosen.
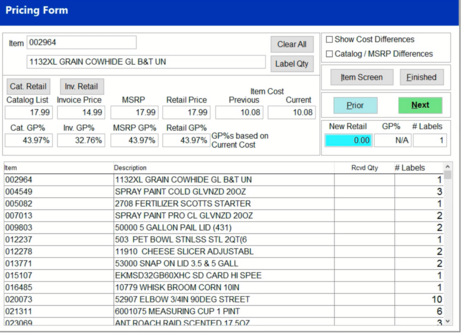
The pricing screen is loaded with the contents of the chosen Consolidated Invoice in the above sequence.
Step 1: Clear all – this is to give you a fresh start, so you know what you are working with.
Step 2: Check the Catalog/MSRP Differences to only show the price differences between your inventory and catalog.
Step 3: Click Inv. Retail if you only want to accept the retails that are on the invoice.
Click Cat. Retail if you are looking to accept the retail that is in the catalog.
Step 4: Click Finished. It will apply the new prices to the pricing screen, it does not set the new prices that comes later.
*Note – if you click Next instead of Finished you can go through the prices one by one and make sure that they look appropriate or change any you might want to.
After clicking Finished on the previous screen, it will bring you back to this menu where you can print a copy of the price change report if you need to. To print the labels, you will need to click individual labels.
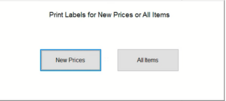
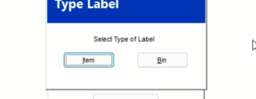
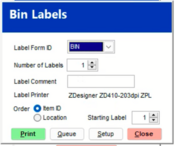
After clicking Individual Labels, you will get the following prompt. If you only want to print labels for the prices that are being changed you should click New Prices. You should then get a prompt asking you which label and then which printer. That should be the same you get when printing labels from anywhere.
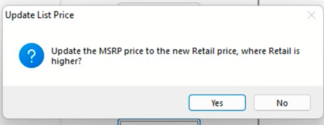
After you print the labels, you will need to Release Prices, this is the final step on the above Pricing Menu. This step will set the new prices in TransActPOS.
The system will prompt about updating MSRP to the new retail. This will prevent your MSRP from being lower than what you are charging your customer.
When this is complete it will let you know that price updates are completed.