(c) Profile Systems Design Group, Inc. 2026 Build: 4.008.811 Help ID: 1909
If you do not see the expected content,press CTRL + F5 to clear your Browser's cache.
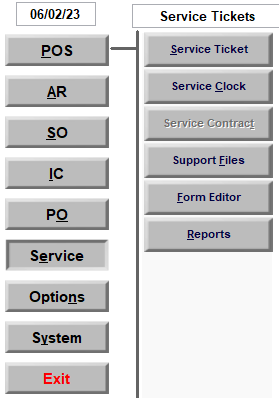
09-010-1 Service Tickets Training #1 - Service Support Files
The Service Support Files menu defines the parameters for the service module. These should be set prior to creating service tickets as some of the support file fields are required in order to save a service ticket. Further parameters for layout and operation of the service ticket module are in System | Company Setup | Service Tickets 1, Service Tickets 2, and Service Tickets 3.
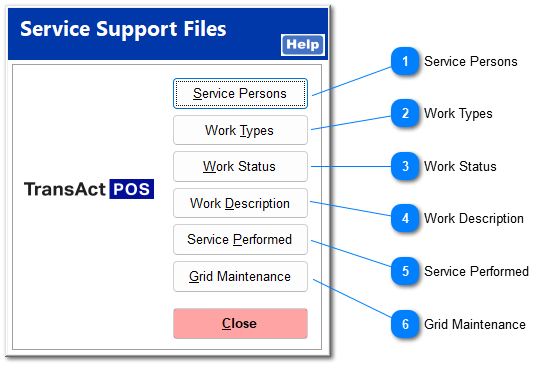
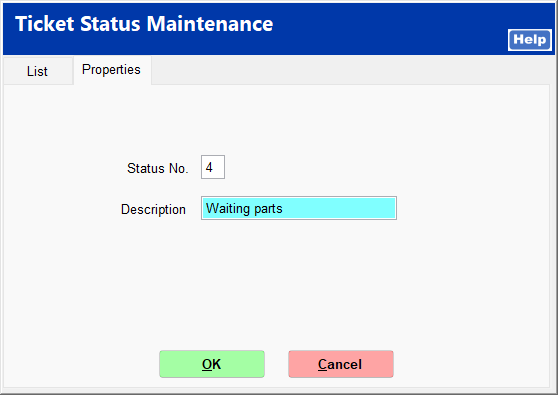
Service Persons
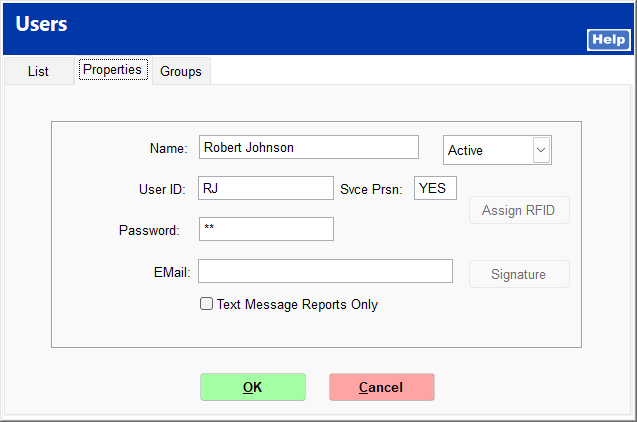
Service persons must be set up here to include on tickets. All service tickets require a preferred service person to be entered.
Click Service Persons.
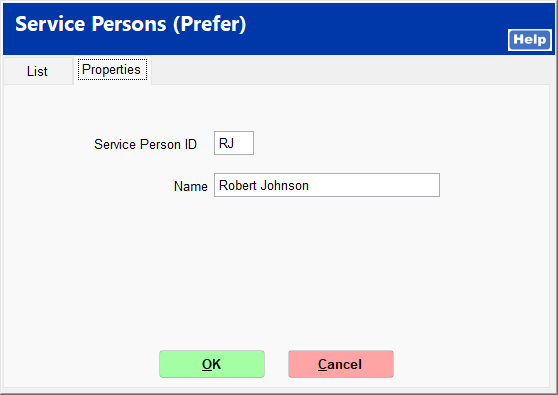
Click New to add a new service person. Enter the service person's TransActPOS ID and name.
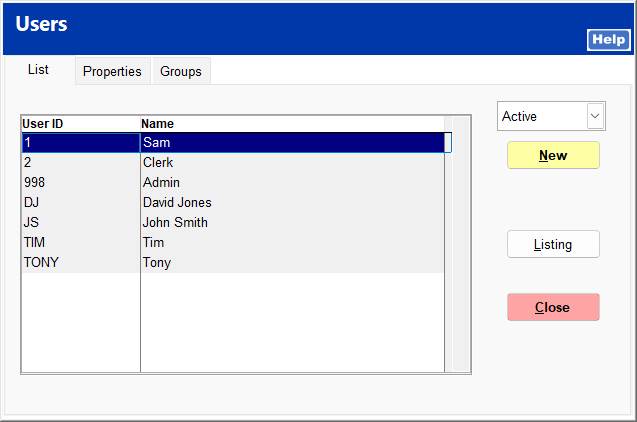
Go to System | User Security | Users to add the new service person to the Service group.
Click New and enter the service person's information. Be sure to enter YES in the Svce Prsn field. Click OK.
Click the Groups tab.
Click Service in the All Groups list, and click the top arrow button to add it to the User Member of list. This gives the new service person security permission to access all functions within the Service group.
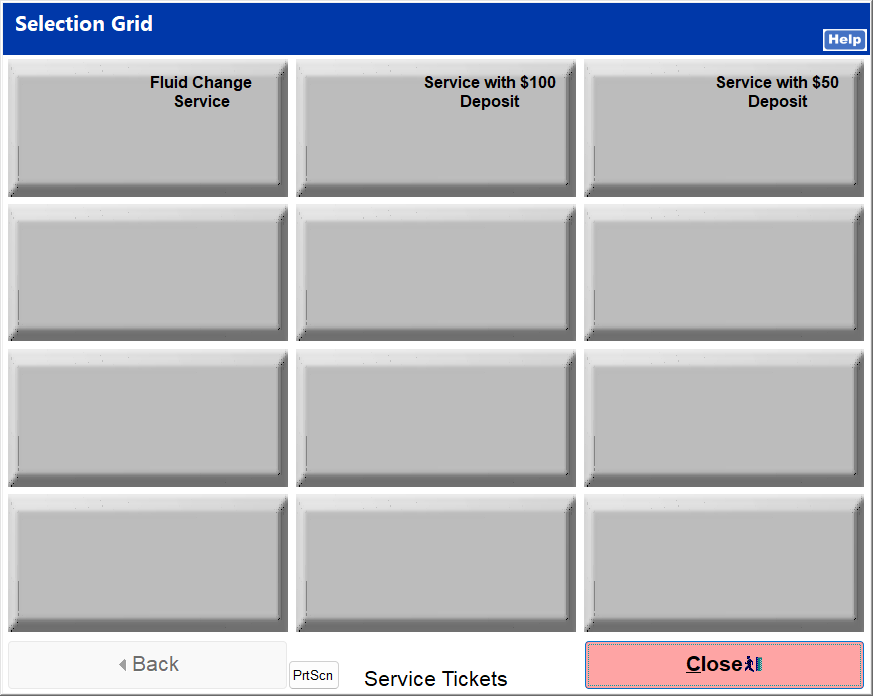
The service grid allows you to quickly select different kinds of tickets to create. It can be used to auto-populate things like bench fees and inventory items in a service ticket.
Click Grid Maintenance.
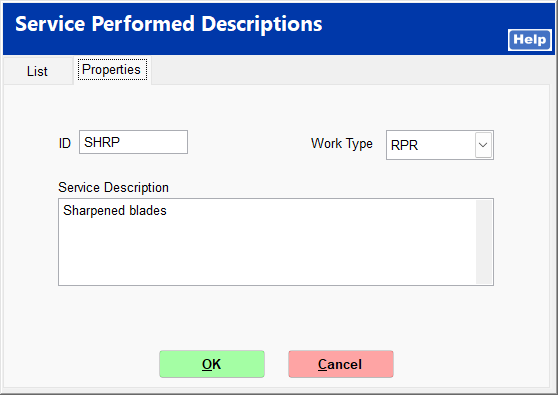
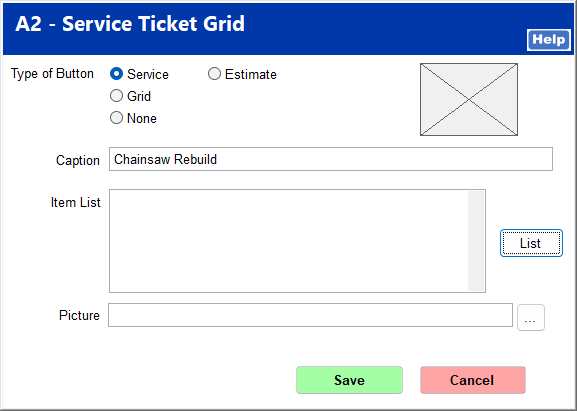
Right-click on a box to add a new grid button. Choose a button type and enter a caption that describes the button.
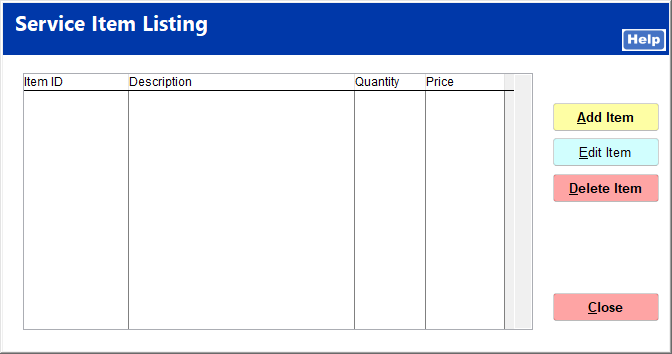
Click List to add bench fee items or inventory items.
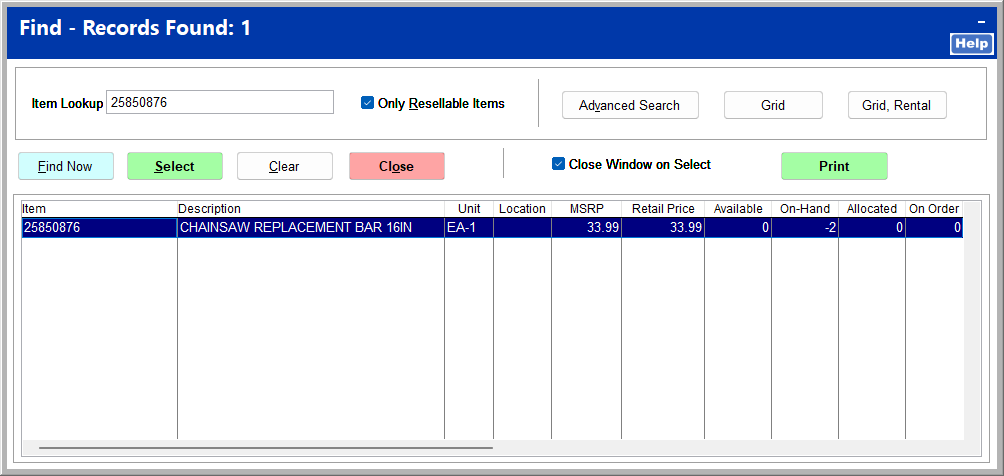
Click Add Item, then Find on the next screen. Use the Item Lookup to find items.
Click Select, then Select on the next screen, and then Close.
You can attach a picture if desired or click Save to add the button to the grid.