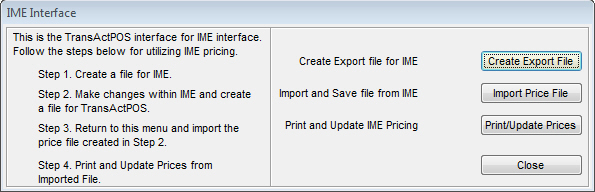
This menu option allows you to interface IME within TransActPOS. The IME Interface screen is self explanatory. Follow the steps on the left (in order) and use the buttons on the right when necessary.
Step 1
Create a file for IME. Clicking on the Create Export File button on the right will complete this step. When you click on it, it brings up the IME Listing screen. This screen is very similar to the
Item Listing report. In this report, there are a number of options you can change to make your file fit what you need. You can change the order of the report by item, description, class, or location. You can also choose to include certain items with multiple on-hand values. By default, it will include all items. You can choose to have the report include only items with on-hand values:
-
On-Hand > 0 (on-hand values greater than 0)
-
On-Hand < 0 (on-hand values less than 0)
-
On-Hand = 0 (on-hand values equal to 0)
-
On-Hand <= 0 (on-hand values less than or equal to 0)
After you have chosen which items to include, you can select the type of items to include (stock, non-stock, or both). You can have the report show past sales, cost, and/or quantity. In the bottom left corner, you can exclude, include, or only show certain items. These options are not resellable items, special order items, and not available items. You may also choose to utilize the right side of the screen to filter the listing down even more. You can filter it down to a specific or portion of item ID, class, code, fine, sub-fine, fineline, manufacturer, season, and/or location.
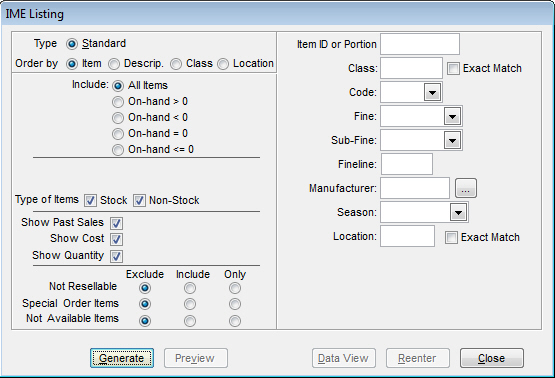
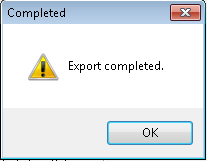
When you have set the options you want, click the Generate button, like you would with any other report. Depending on the options you have in place, this report could take a minute or two to generate. You can preview the listing to make sure it is what you want by clicking Preview. If you are unhappy with the information in the listing, you can click Reenter to change the settings for the list. When you are happy with the results, click To File. The system will then ask you for the type of file to export. Make sure you choose Data | Raw Data. When the system completes the process of exporting, you will see a Completed screen. Click OK and proceed to Step 2.
Step 2
Make changes within IME and create a file for TransActPOS. This step involves using IME to open the exported file and making the desired changes to it within the IME program. Note, you must do this IME process on the PC that has IME loaded onto it. Do not attempt to export a file on one workstation and open the file on another using IME. Use the same PC for this entire process. Once the changes have been made to your file, create a file for TransActPOS.
Step 3
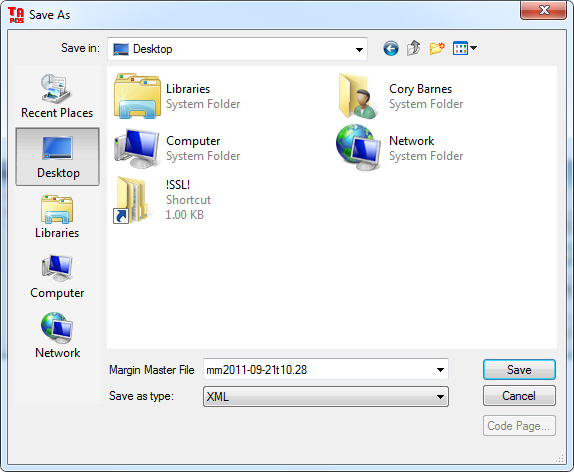
Return to this menu and import the price file created in Step 2. This step is completed by clicking on the Import Price File button on the right side of the IME Interface screen. After clicking on this button, a Save as prompt will appear if the file was made correctly in Step 2. You may choose to rename this file if you wish. Make sure you save the file to a place you know exactly where it is. The resulting file will be an XML file.
Step 4
Print and Update Prices from Imported File. Click on the Print/Update Prices button on the right side to finish this step. Locate the XML file you created in Step 3. Once you have located it, the system will import the file. You will then be able to print new labels from here.