(c) Profile Systems Design Group, Inc. 2026 Build: 4.008.811 Help ID: 782
If you do not see the expected content,press CTRL + F5 to clear your Browser's cache.
Third Party Vendor
This guide will help in bringing in a third party vendor from Do it Best that are invoiced directly through Do it Best.
The first step is to create a PO as you normally would. When all items have been entered into the Purchase Order, you will click Save PO and close it.
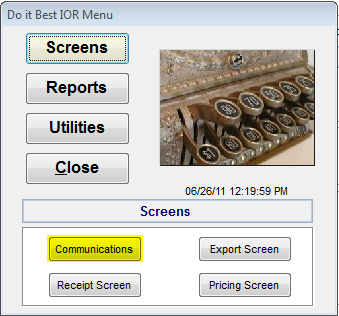
Next, click on Options | IOR Menu | Do it Best | Screens | Communications.
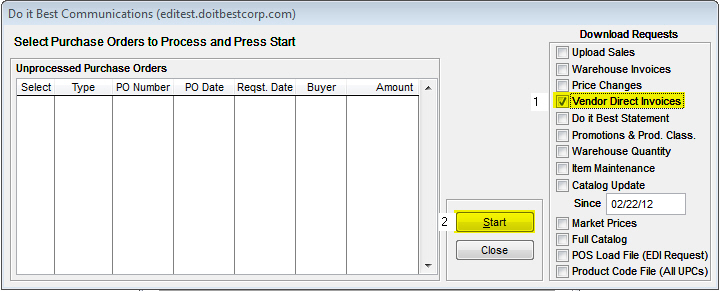
After you have done this, you will see a screen with a list of check boxes on the right hand side of the screen. One of these boxes will be titled ”Vendor Direct Invoices.” Select that box and click Start.
Once the files are brought in, go back to the IOR menu for Do it Best and click Reports | EDI Invoices.
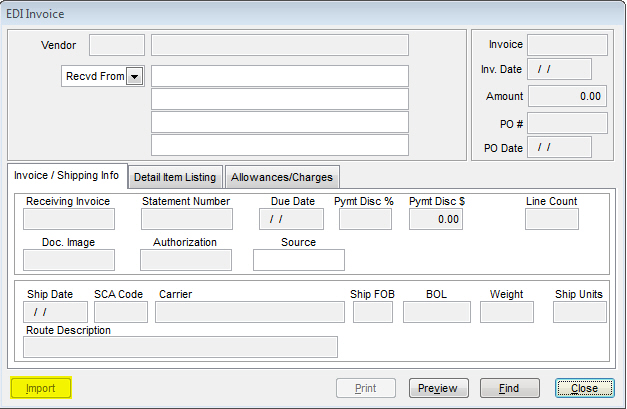
When the EDI Invoice screen appears, click Find to locate the invoices that were brought in from the previous step. When you find the correct one, click Select to bring that invoice up. If you click on the Detail Item Listing tab, you can see the items that are on that specific invoice. This tab shows various information about the items inputted on the invoice. Once you are happy with the invoice, click the Import button in the lower left corner.
If this button is grayed out, that means this particular EDI Invoice has already been imported. If it hasn’t, this will bring up a Find screen to find the PO associated to this invoice. Find that PO and click Select. After you find the PO, it will bring up multiple screens finding the item numbers. When you find the match that matches the item on the invoice, click Select. Do this with each item, then close the EDI Invoice.
To see what has been done to the Inventory, click on IC | Reports | Adjustments and look at adjustments done on the day the Import was processed. On this report, you should see the items adjusted properly, at the prices you set, and the amount of items imported. If you would like, if you want a print out of the EDI Invoice, find the EDI Invoice and click Print. You can also click Preview to view the print out without actually printing the invoice out.