(c) Profile Systems Design Group, Inc. 2026 Build: 4.008.811 Help ID: 201
If you do not see the expected content,press CTRL + F5 to clear your Browser's cache.
Checking Out
Alternative information for Rental Version 2 is presented in blue boxes.
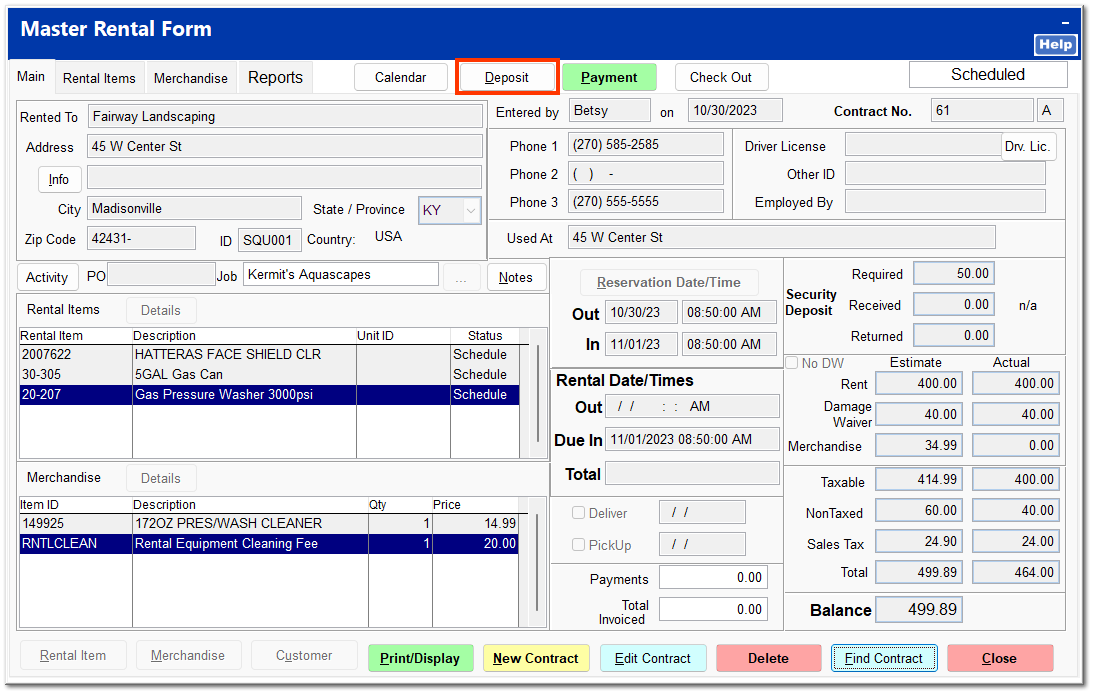
A rental item can be checked out immediately upon creation of the rental contract or at a later time. If the rental item is to be checked out immediately, clicking Check Out in Step 5 of the rental wizard opens the Check Out screen. Otherwise, you can open the contract and check out at any time.
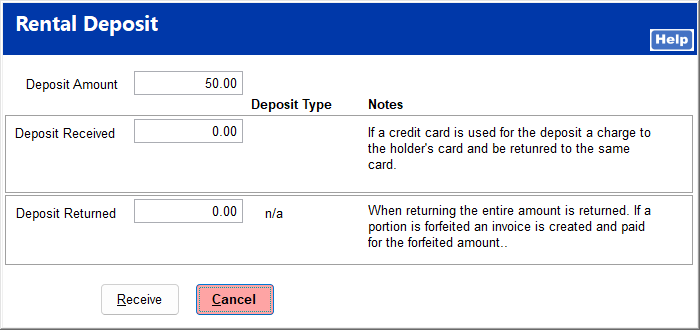
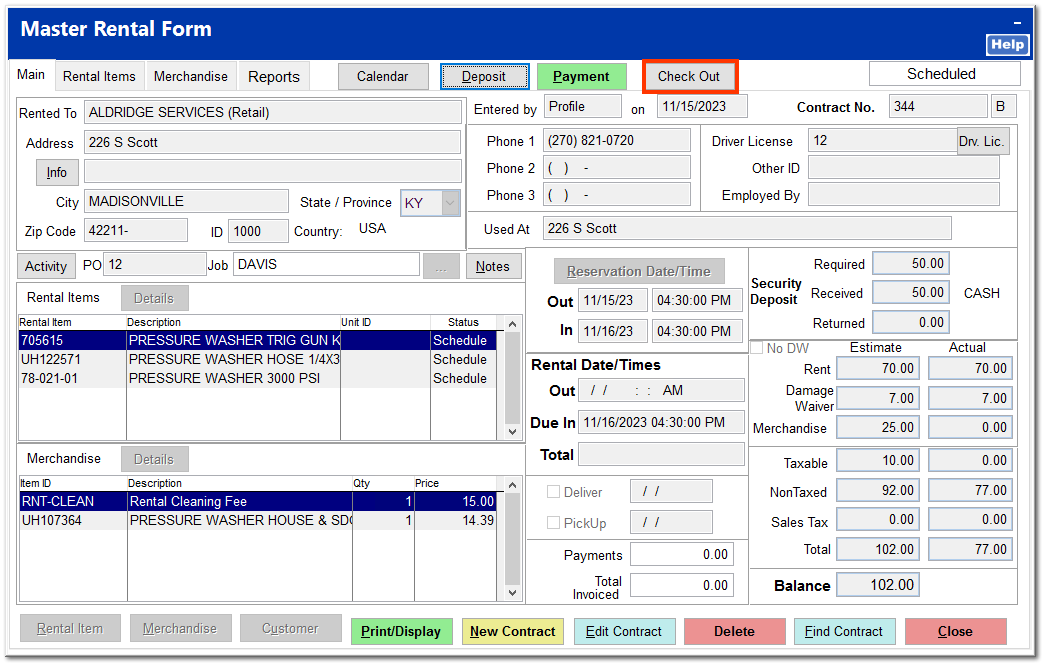
If a deposit is required on the rental item, it should be received prior to checking out. Click Deposit to receive a deposit.
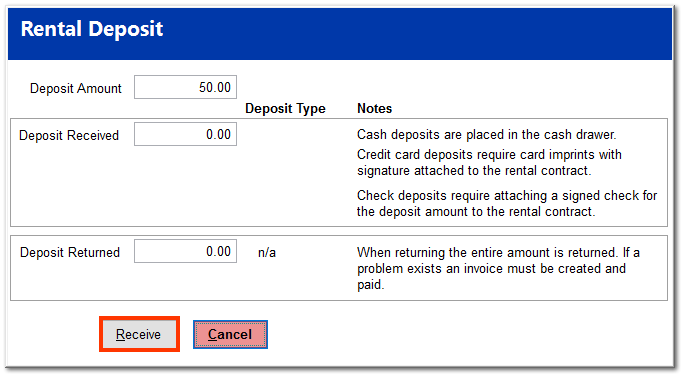
The Rental Deposit screen opens with the required deposit amount entered. Click Receive to accept the deposit. Note that deposits made by credit card must be imprinted manually and cannot be completed via credit card machine.
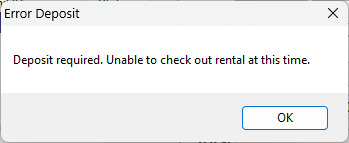
Ver. 2 requires the deposit to be received prior to checking out. The following prompt opens upon clicking Check Out in Step 5 of the Rental Wizard or clicking Check Out on a scheduled contract. Clicking OK on the prompt immediately opens the Rental Deposit screen.
Click Receive to accept the deposit.
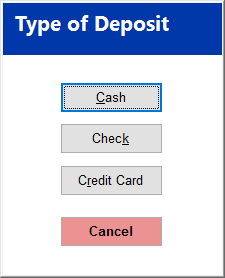
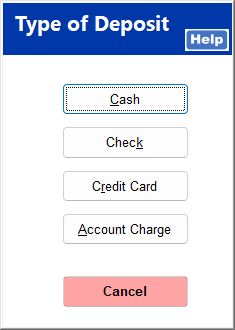
Click on the deposit method.
Click Check Out to proceed to the check out process.
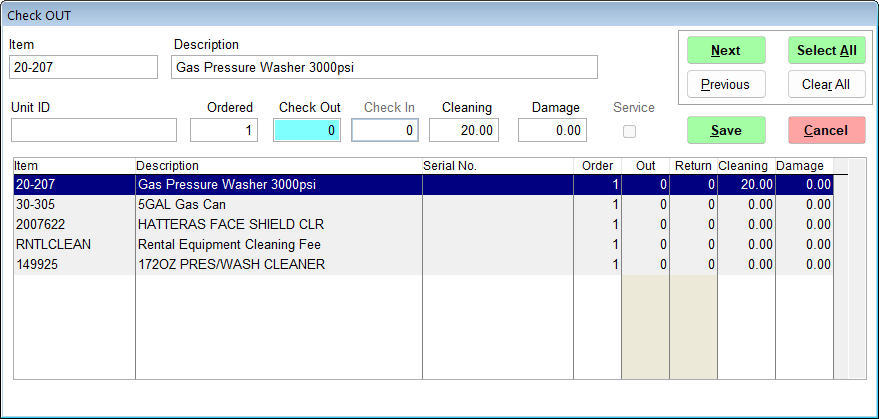
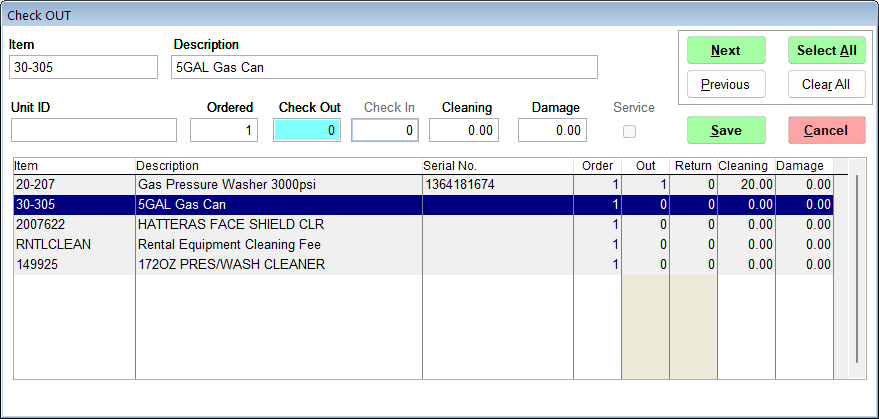
The Check Out screen lists each rental item and merchandise item on the contract. Click on an item to select it, and enter the quantity to check out in the Check Out field.
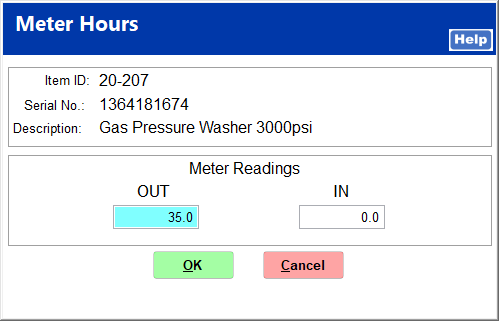
For metered items, you are prompted to enter the meter reading upon check out.
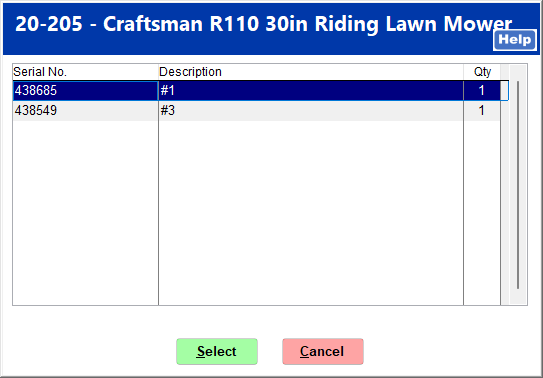
For serialized items, you are prompted to select the correct serial number for the rental item currently being rented. Click on the correct serial number, and click Select.
Click Next to proceed to the next item in the list, or click on an item to check out. Click Previous to move to the previous item in the list. Continue until all items are checked out. Alternatively, you can click Select All to check all items out at once.
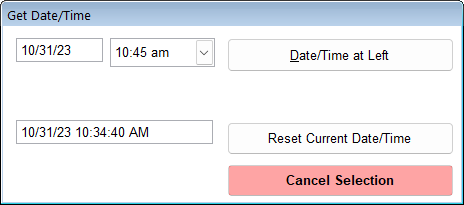
Click Save to complete check out. You are prompted to enter the date and time for check out. You can set the date and time rounded to the quarter hour.
If Get Rental Signature is turned on and you have a Verifone Card Reader from us, the unit will prompt for the customer's signature.
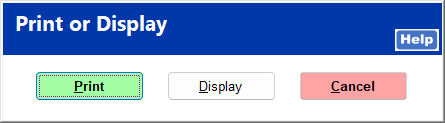
The Print or Display screen opens, from which you can choose to print or display the rental contract. The rental contract is formatted to print on pre-printed rental agreement forms. For more information on pre-printed forms, see Rental Agreement Forms. Clicking Cancel allows you to proceed.
On printing or displaying the contract, the signature will appear in the bottom left hand corner.
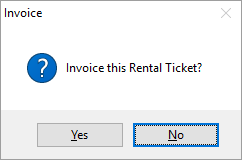
You are prompted to invoice the rental ticket. Click Yes to proceed.
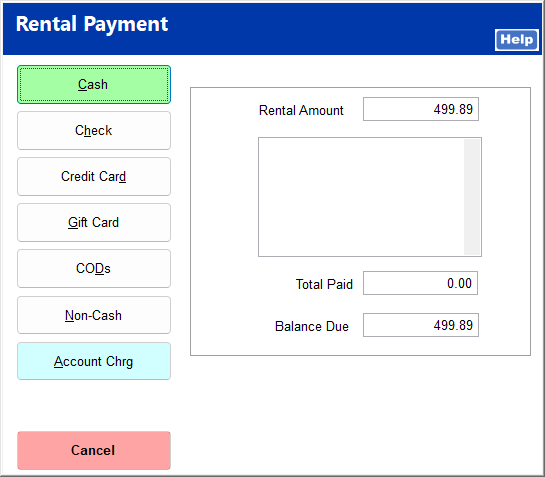
Ver. 2 proceeds directly from the contract Print or Display screen to the payment screen.
Click on the payment type, and enter any additional information required. If a credit card is used as the payment type, the customer is given the option to store the credit card information for future use on this rental contract. For more information on stored credit cards, see Storing a Credit Card.
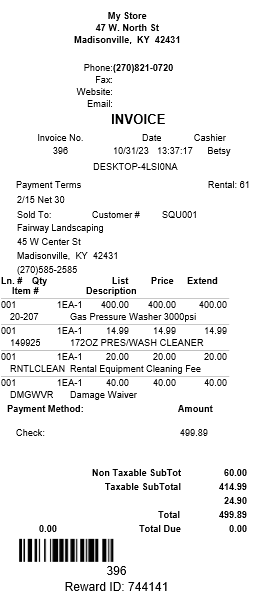
An invoice prints detailing the payment received.
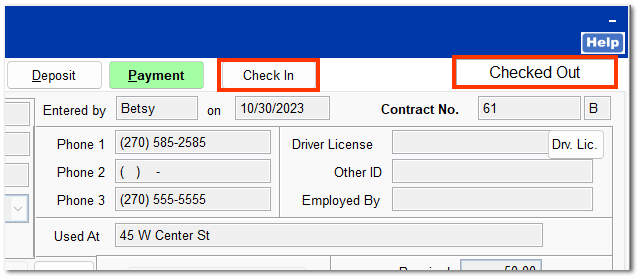
Once the check out process is complete, the contract status changes to Checked Out, and the Check Out button becomes a Check In button to be used when the rental item is returned.