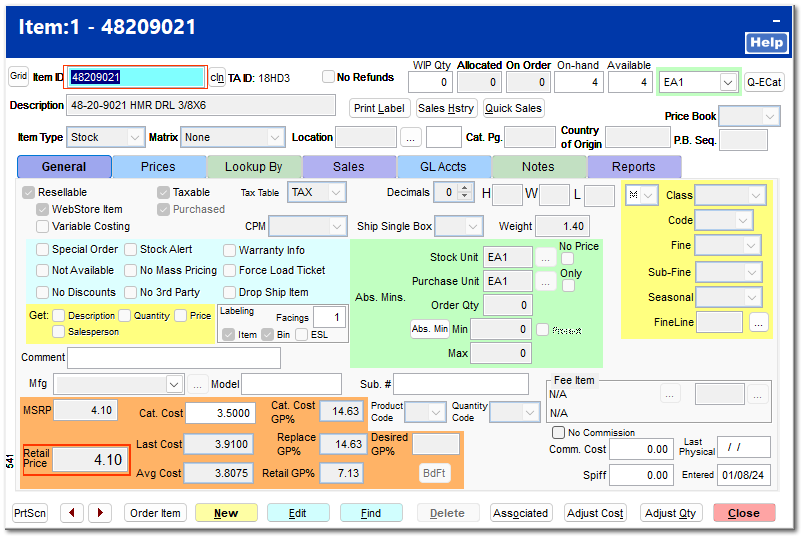
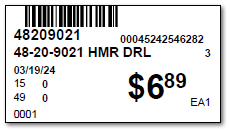
Example of a multi-vendor SKU
SKU 48209021 has an assigned Item ID originating from the Milwaukee vendor item number showing a current Retail Price of $4.10 sourced from the original addition of the item in inventory during the auto-add process found within Purchase Orders.
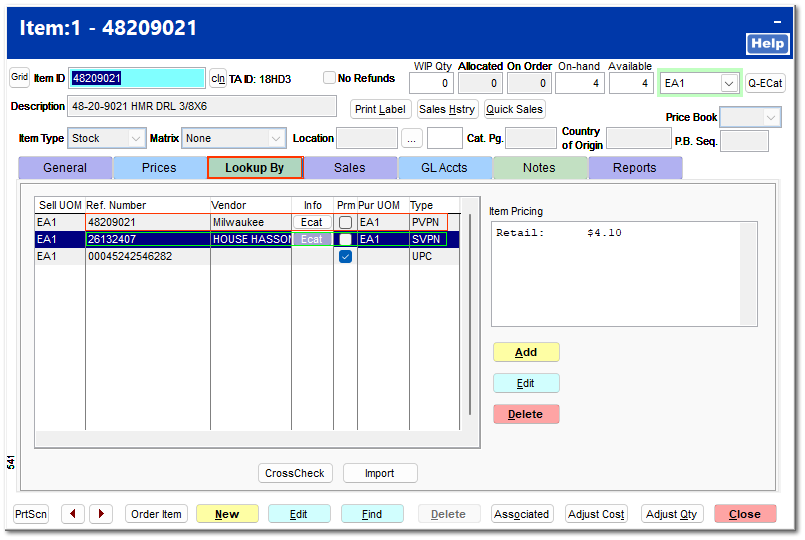
Within the Lookup By tab, the Primary (PVPN) and Secondary (SVPN) vendor relationships are maintained.
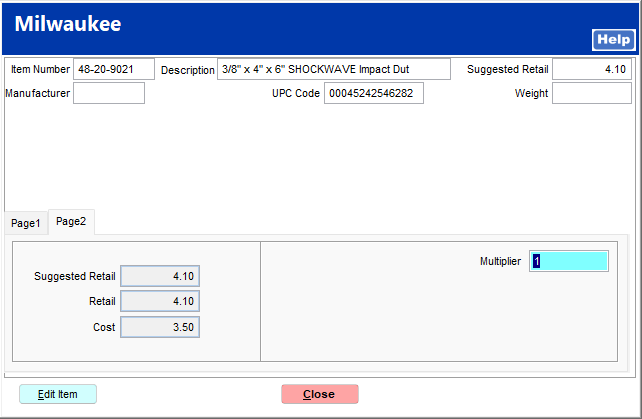
Within the Milwaukee catalog, the suggested retail is $4.10 and the replacement cost is $3.50. The original source of the current retail price.
Alternately, in the House-Hasson catalog, the suggested retail is $6.89 and the replacement cost is $3.91. In this example, the $6.89 retail is desired but the price is associated to the SVPN, the secondary vendor, House-Hasson.
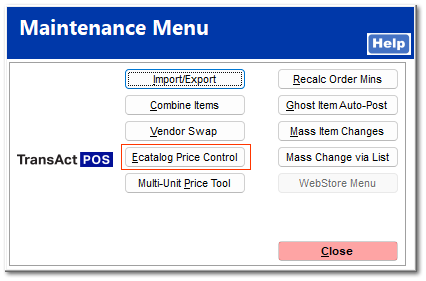
To update the all House-Hasson items to the ecatalog retail prices, higher or lower, the following process would be followed:
1. Select IC > Maintenance > Ecatalog Price Control
2. Log into the system using your assigned user name and password.
3. At the ECatalog Price Control screen, select New
4. Find the Primary Vendor that from which the prices will be updated. In this example, House-Hasson will be the Primary Vendor.
ASSUMPTION: The catalog has been updated using the IOR Communications menu to download and update the electronic catalogs current retail prices as stated by the selected primary vendor.
If not updated, proceed to IOR Communications for the selected vendor and complete the communications to include file mainenance and retail price updates. If this is a non-communicating vendor, update the ecatalog via a spreadsheet download and update. IOR Menu,
E-Catalog Functions
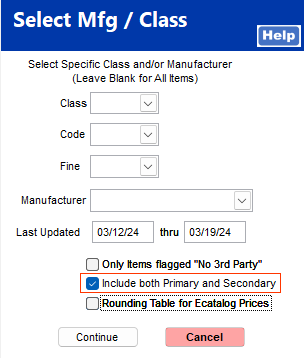
5. Within the Select Mfg/Class screen, check the "Include both Primary and Secondary" option to include the Item ID of 48209021from Milwaukee as shown above. Select Continue.
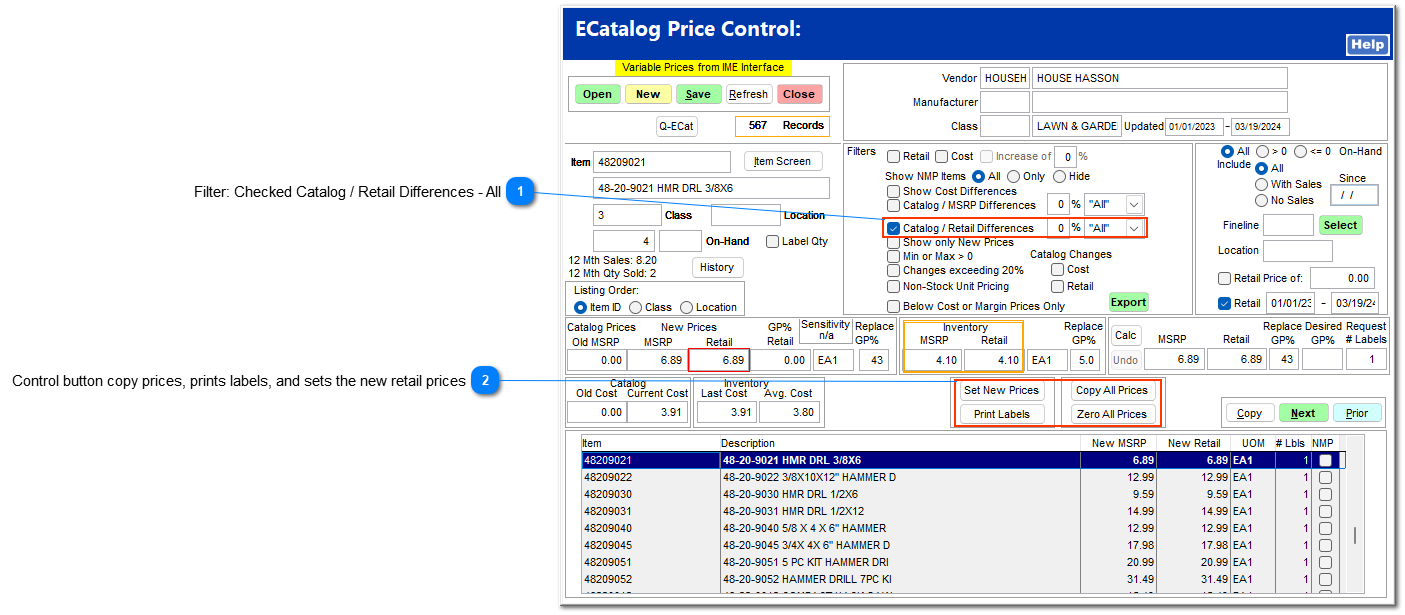
6. The ECatalog Price Control utility will present the following control screen.
- Check the Catalog / Retail Prices Differences - All to only view items with retail prices different that the catalog retail price.
- Follow the Control button copy prices, prints labels, and sets the new retail prices prompts of 1,2 & 3 to copy , print and update the retail prices.
 Filter: Checked Catalog / Retail Differences - AllThis option filters to 567 items that have a Catalog Retail Price "Less Than" or "Greater Than" the Inventory Retail Price.
The resulting list may be limited to higher or lower, if desired.
|
|
 Control button copy prices, prints labels, and sets the new retail pricesFollowing sets should be followed to apply the indicated list of New MSRP and New Retail prices to the filtered list of items.
-
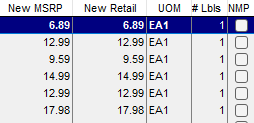
Copy All Prices - Copies all the catalog MSRP and Retail prices in to the New MSRP and New Retail columns as shown in this example. These will be the prices that will be appled to the inventory when printing new labels and setting new prices in the following steps.
Note: The MSRP and Retail price may be individually modified within the following menu options when an item is selected. 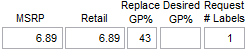
Important Note: Update all MSRP and Retail prices even if the product is a special order item or not currently stocked.
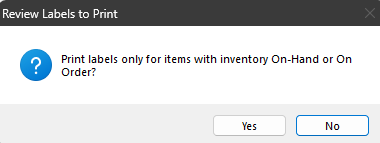
You will have the opportunity to only print labels for items that have an on-hand quantity or on purchase order (On Order).
WHY update all prices? Because if the special order item or not currently stocked item is referenced, the current retail price will be correct.
-
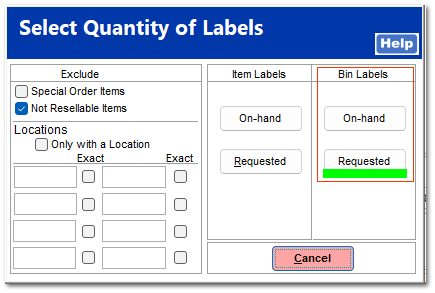
Print Labels - within the printing routine , select Labels, then select Requested.
The system will then prompt to only print labels with a On-Hand quantity or are present within an outstanding purchase order (On-order) this reducing the number of labels being printed. Select Yes to proceed. Once printed apply the labels to the indicted inventory within the retail space.
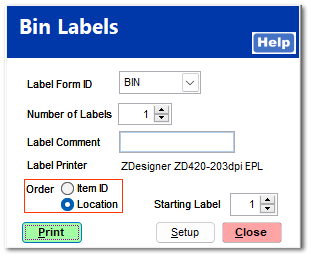
With the Label Form selected (Ex: BIN) and the Label Printer selected, choose one of the following options:
-
Order By Item ID - if locations have not been assigned to the inventory, select the order by Item ID to place the labels in logical order. -
Order By Location - if locations are have been assigned to a location, certainly select this option! This will make the application of new price labels so much easier.
3. Set New Prices - Once the new price labels have been applied, the final step of Set New Prices updates the retail price within inventory.
If this step is not completed, the retail prices in the inventory will not match the labels just printed.
Remember that the current Ecatalog Price Control session can be saved for future reference. The Open option will allow the user to return to the Saved session.
|
|