(c) Profile Systems Design Group, Inc. 2026 Build: 4.008.811 Help ID: 2466
If you do not see the expected content,press CTRL + F5 to clear your Browser's cache.
How to Run a Report
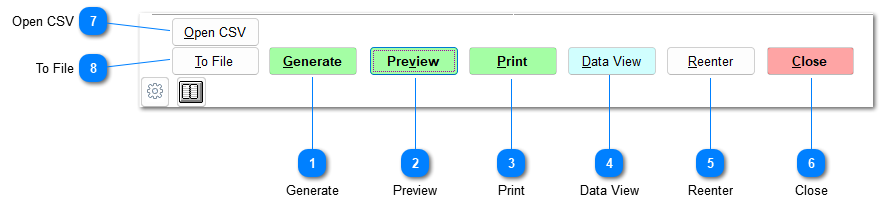
Most reports have the same functions along the bottom of the report screen.
Generate
Enter the options/filters to be shown on the report, and click Generate. This creates the report or displays an error if the report can't be run (option missing, no data, information missing, etc). Once the report has been generated, other functions can be selected.
This prints the report to the location specified in System | Workstation Settings | Printing. You can right-click the button to select a different printer and different print parameters.
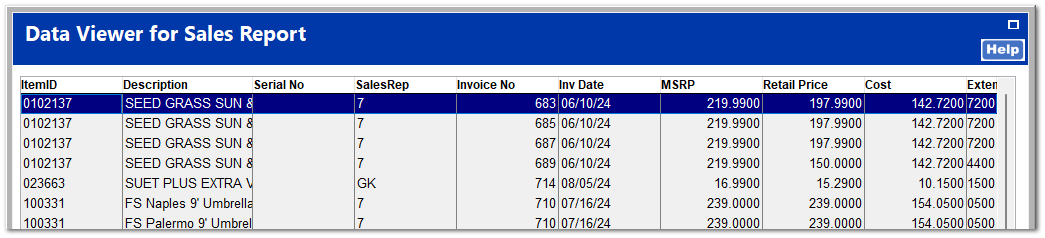
Data View allows you to customize the way you view the report. You can select which fields to display, sort and filter columns, and export the view to a spreadsheet.
This allows you to export the report in different formats. Clicking Form exports the report as a PDF file, whereas clicking Raw Data exports the report as a .txt file. You can save the report to your desired location.