(c) Profile Systems Design Group, Inc. 2026 Build: 4.008.811 Help ID: 3371
If you do not see the expected content,press CTRL + F5 to clear your Browser's cache.
Creating a Service Ticket
For more information on creating and editing service tickets, see the video Service Ticket Creation.
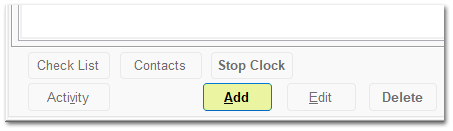
A new service ticket is created by clicking the Add button located on the Main tab.
This opens the Find Customer window, and you can select a customer from the store's AR customer listing or enter a new customer. If entering a new customer, selecting the No Account Charge feature (located to the right of the customer's name after creating the customer) will allow the service department to accurately locate the customer but will not create a new store charge account for the customer. The close relationship between the AR and Service Modules makes it easy to track all transactions by the customer.
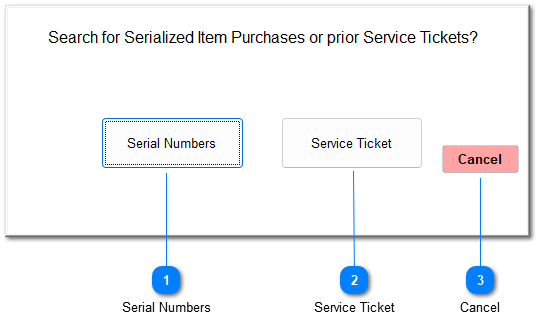
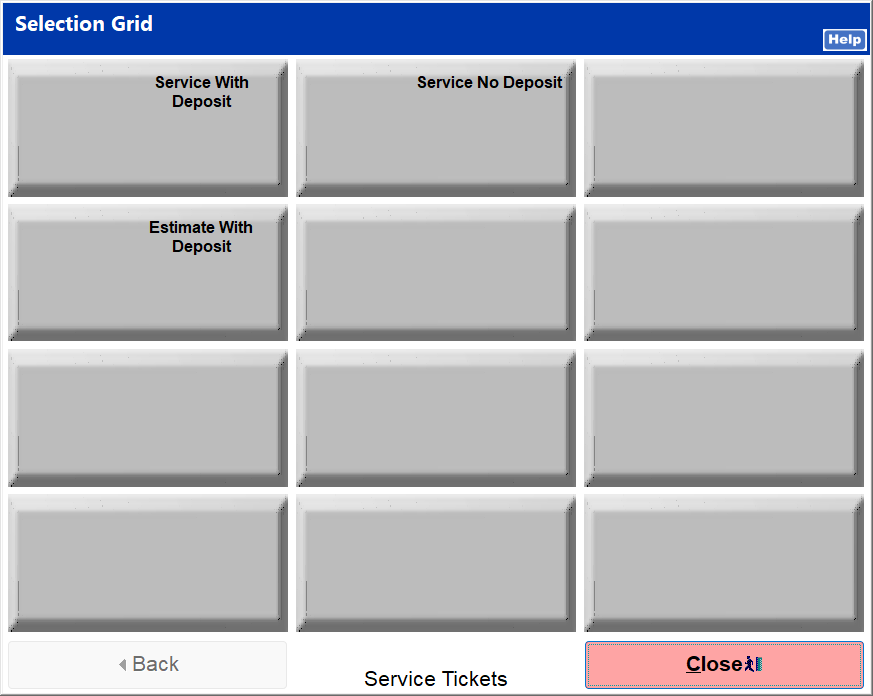
Once you enter a customer, the following window opens:
Serial Numbers
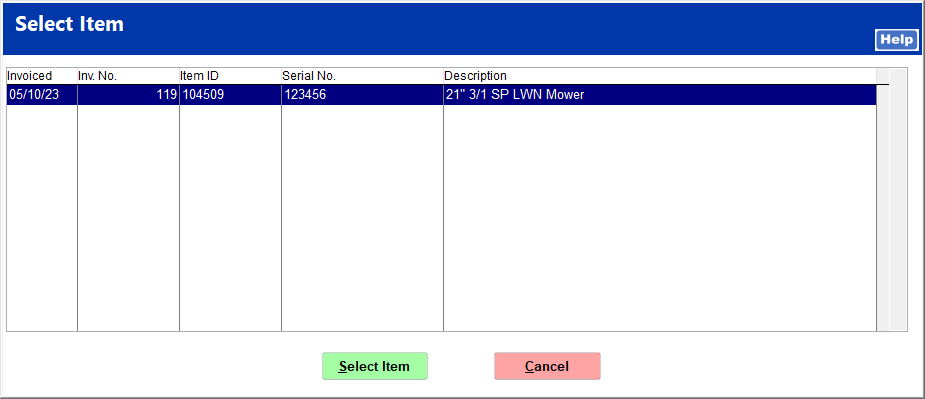
This opens a list of serialized parts that have been sold from the store to this customer. You can find the equipment and choose its serial number from the list. Creating a service ticket with a serial number associates them so that you can later find all service tickets related to that serial number.
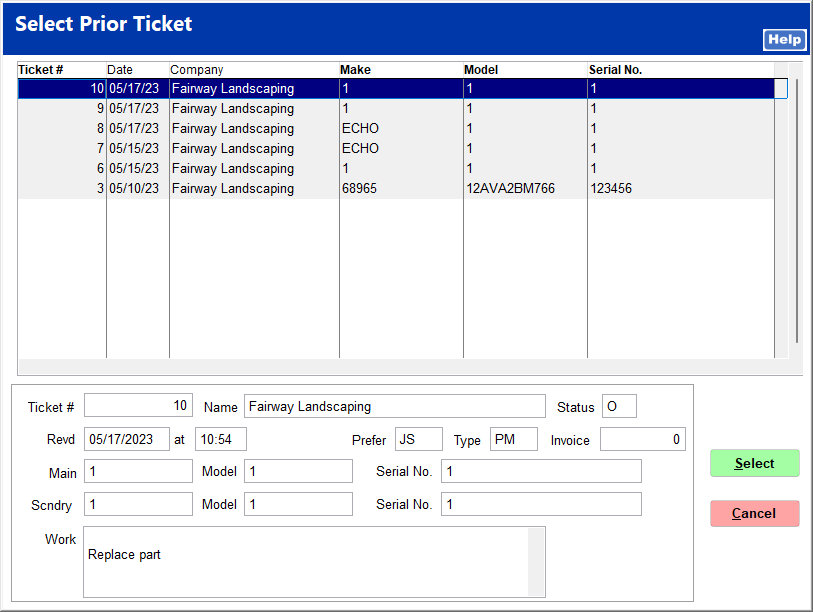
This opens a list of all prior service tickets for the customer. If the current equipment has been serviced in the store previously, selecting a prior service ticket automatically fills in equipment details on the Main tab.