Lurking in you inventory can be items that do not exist in your store but do have a on-hand quantity in your store inventory.
Within a single 4 foot section of the store can be nearly 100 items as this light bulb section of shows. A physical count was just completed on this four foot section completing the task of posting a physical count for the electrical class.
Now the question is what items are in inventory that were not counted but still show an on-hand quantity. To discover and manage these Ghost Items, run the Ghost Item Auto-Post IC Maintenance utility to quickly resolve this potentially labor intensive process.
The Solution - Ghost Item Auto-Post
Select IC > Maintenance > Ghost Item Auto Post
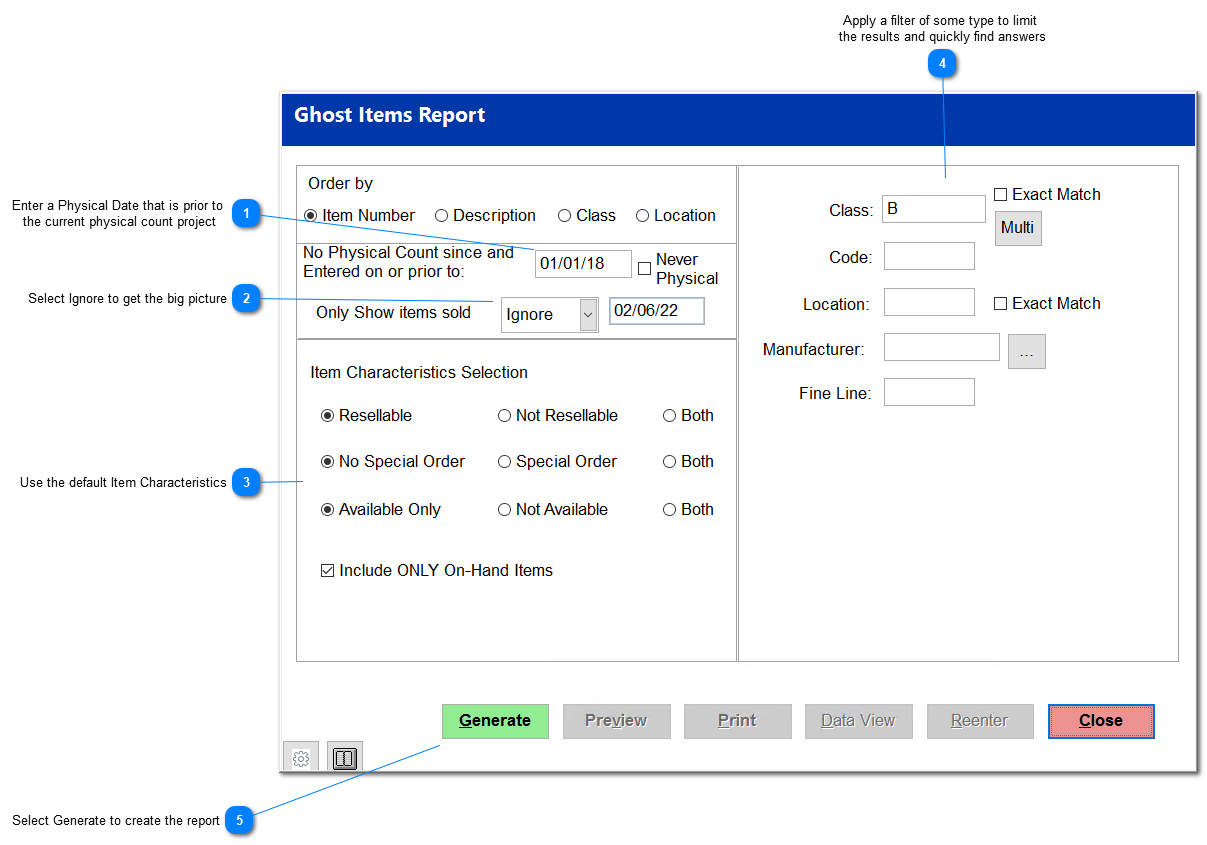
Enter a Physical Date that is prior to the current physical count project
Case #1: If your system had imported data from a prior system containing some questionable on-hand quantities at the time of the import, enter a date that is just after the import date. For example, the data was imported in 07/13/2017, so enter a date of 01/01/2018. Since physical counts have been performed on the inventory and the feeling is that all inventory has been accounted for, the report should present all items that have not had a recent physical count of 01/01/2018. These items are lurking in you inventory thus the term Ghost Item.
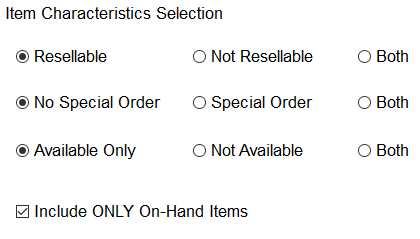
The Default Item Characteristic Selection have a direct impact on the inventory listed at any of the module's item selection screens (Point of Sale, Sales Orders, Purchase Orders, etc...)
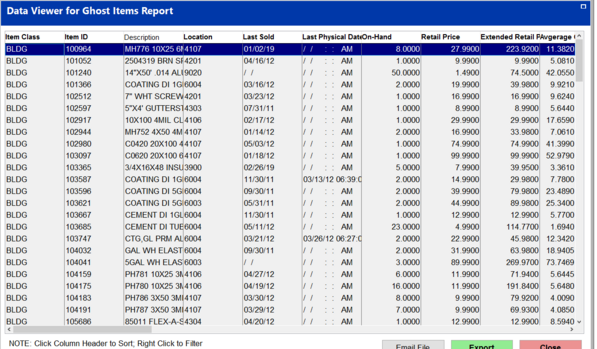
Next Choose Data View to quickly manage the data with filters and sorts.
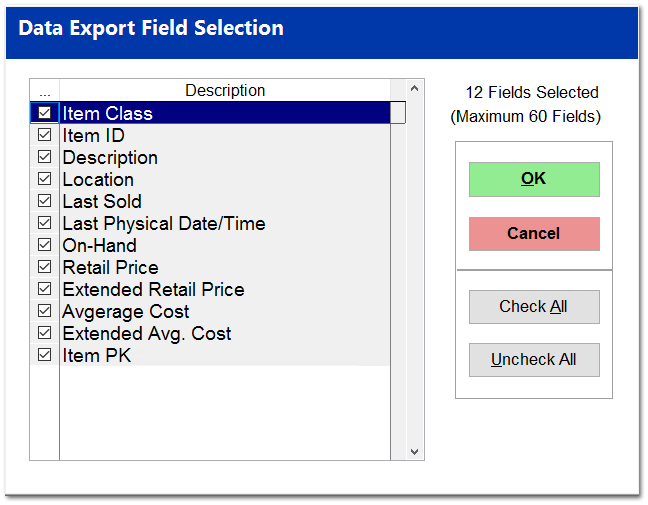
Choose all fields presented with the Data Export Field Selection screen and then select the OK button.
Use the inherent filtering, sorting, email and export function of The Data Viewer to quickly understand the data.
With the content of the report understood and confirmed that the posting the Ghost Item report would be appropriate, select Close at the bottom of the screen to return to the prior screen,
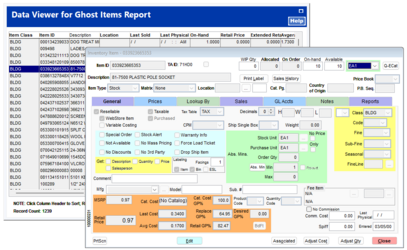
To access inventory control screen of an item, simply double left-click on the item's record. Once the task is completed within the item screed, select Close to return to Data View.
Select Post Entries
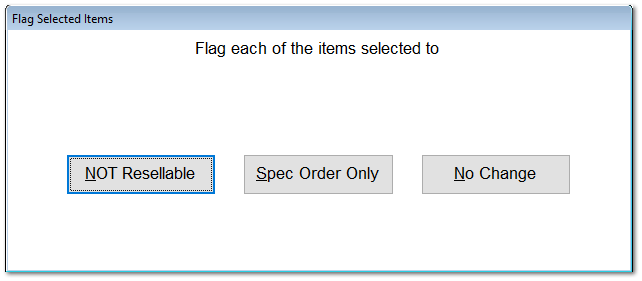
Determined how the items present in the report should have their status changed.
Spec Order Only - Selecting Special Order Only allows the item to be selected but will have the special order item rues applied. General Tab - 9. Controls
No Change - No change is made to the items configuration found within the General Tab.
In this example, all items will be changed to Not Resellable.
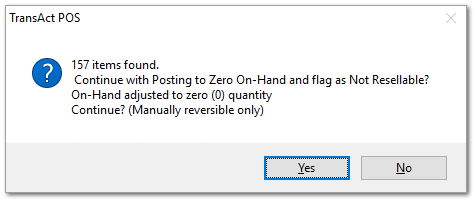
Selecting Yes at this prompt will change the current on-hand quantity for the 157 items found within the filtered report to ZERO and change the item's status to Not Resellable.
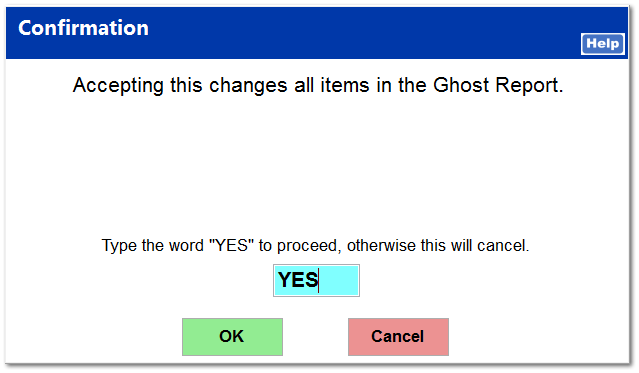
The final confirmation for the action requires the user to enter YES within the proceed field. Complete as desired. Selecting OK allows the system to proceed with the requested change.
The system will indicate when the process of posting is completed. Select OK to close.
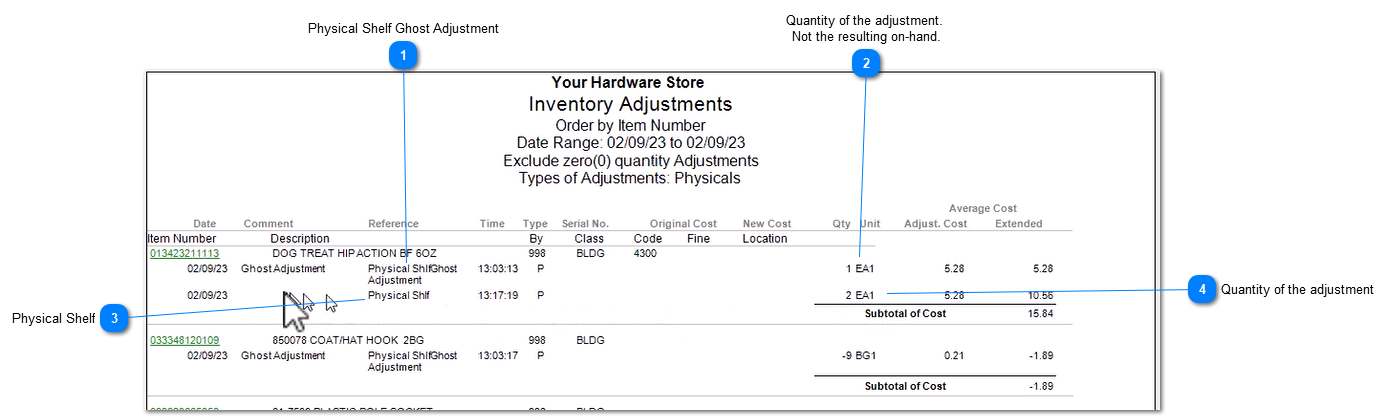
The IC > Reports > Adjustments report presents the quantity change for each item processed.
Physical Shelf Ghost Adjustment
This record is the result of the Ghost Report Auto-Post activity.
Quantity of the adjustment. Not the resulting on-hand.
The Quantity field presents the amount of adjustment mad to the on-hand at the time of the posting. In this example the adjustment of 1 indicates that the on-hand was a -1 at the time of the posting to change the on-hand to zero.
In this particular case, this quantity adjustment is in-fact equal to the on-hand quantity of the item since the line above zeroed the inventory. This adjustment of 2 then moves the zero on-hand inventory to 2.