(c) Profile Systems Design Group, Inc. 2026 Build: 4.008.811 Help ID: 40
If you do not see the expected content,press CTRL + F5 to clear your Browser's cache.
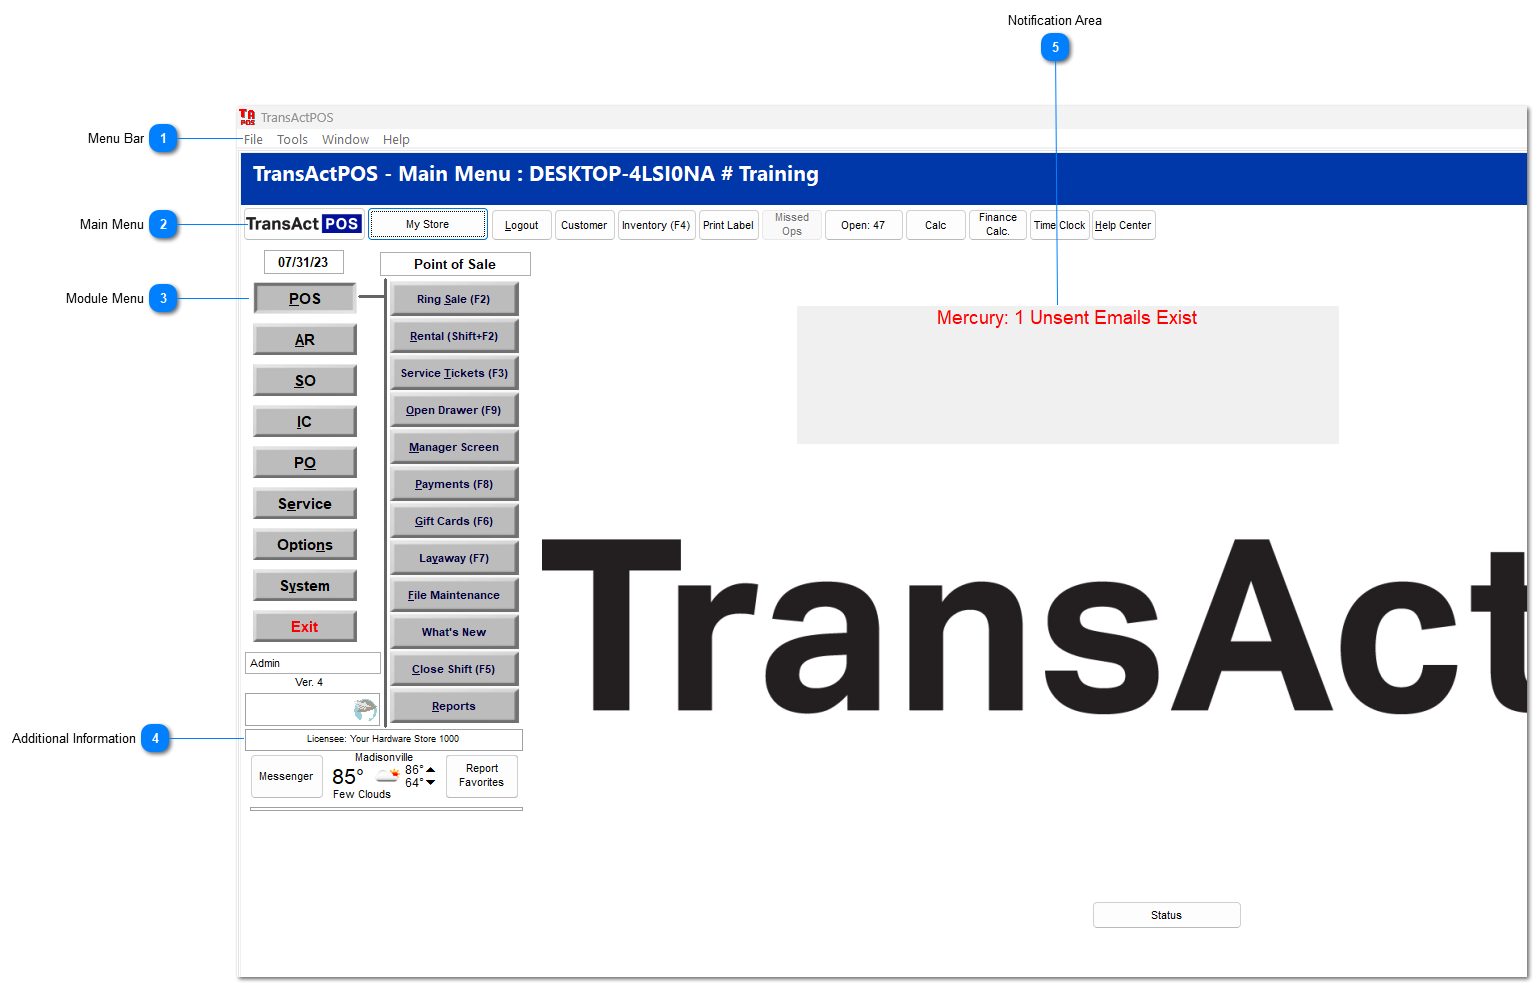
TransActPOS Main Screen
The main screen is displayed when TransActPOS is started. The main screen is divided into five areas. For more information on the Main Screen, see the video Home Screen.
Menu Bar
The menu bar can be used for basic navigation and contains a couple helpful tools. For detailed information, see Menu Bar.
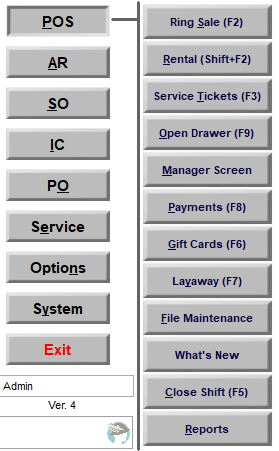
The module menu contains all the modules utilized by your store and their respective functions. All transactions take place inside these modules. For detailed information, see Module Menu.
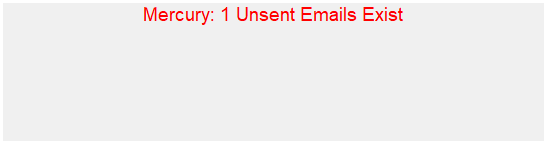
The Notification Area presents messages regarding the status of the system. You may see any of the following messages:
Message: Mercury Server not running
If the system indicates that the Mercury Server is currently running, the application may be started by starting TransActPOS on the designate "server" computer. If the problem persists, the technical TransActPOS Technical Support Team can assist with resolving the issue.
Message: Update available
Periodically, the TransActPOS application automatically apply updates to the applications as a part of routine maintenance and program enhancements. When the message appears on a workstation, simply exit TransActPOS and then return to the application by clicking on the TransActPOS icon. For more information on running updates, see the video Updating the TransActPOS Application.
Message: Unsent Emails Exist
If an email remains unsent due to an error with the email or the connection to the email server, you can reset the Mercury Server errors. For details on resetting Mercury Server errors, see Mercury Server "Errors" Message.