To properly display this page you need a browser with JavaScript support.
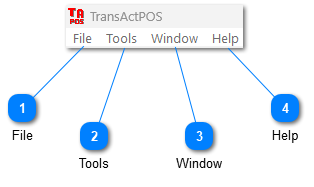
The Menu bar is located at the top of the TransActPOS screen and includes. It consists of four menus: File, Tools, Window, and Help.
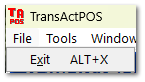
File From the File menu, you can exit TransAct. This performs the same function as clicking the Exit Exit
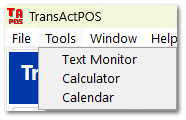
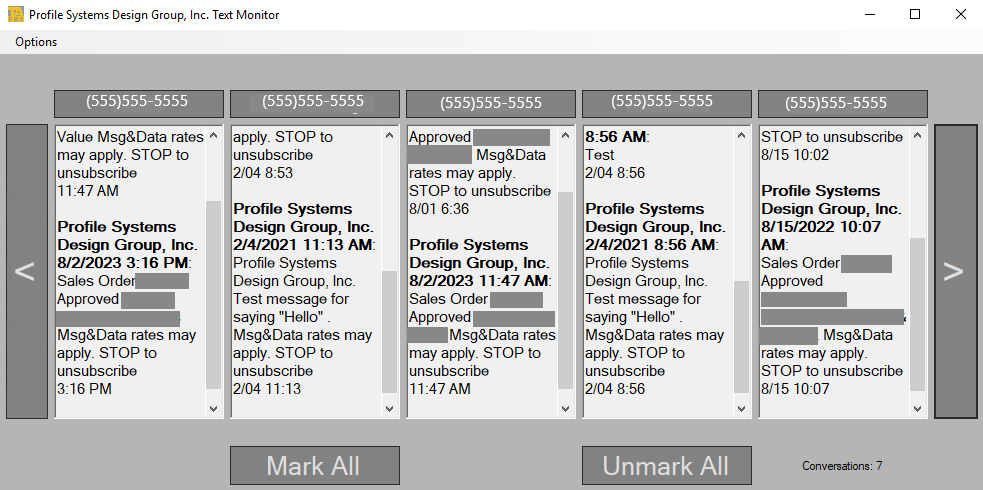
Tools The Text Monitor displays text communications between your store and your customers.
For more information on texting capabilities, see TransActPOS Texting . Calculator Calculator
Calendar opens a month-view calendar.
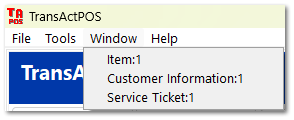
Window This allows you to toggle between open windows if you have multiple screens open. The Window menu is not available when certain windows are open.
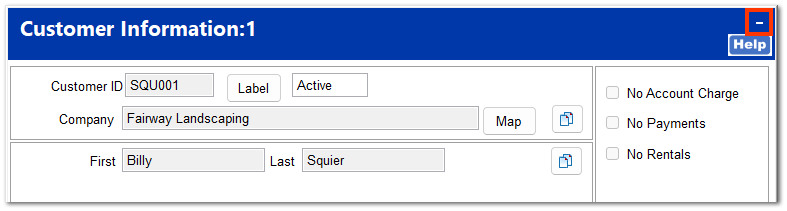
You can minimize a window by clicking the minimize button in the top right corner of the window.
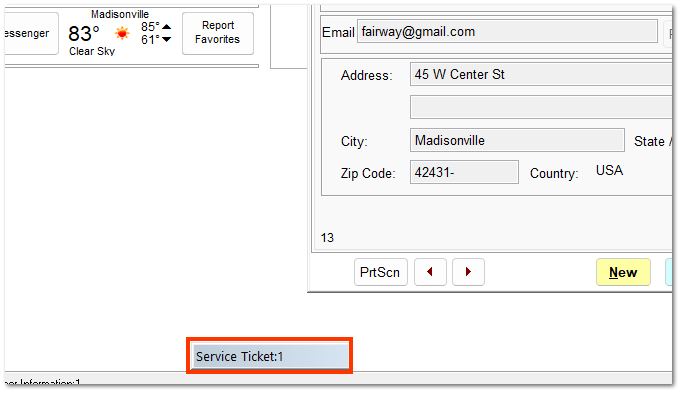
Minimized windows are shown at the bottom of the Main Screen.
Click on a minimized window to restore it to full size.
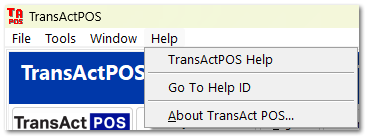
Help Clicking TransActPOS Help Help Center
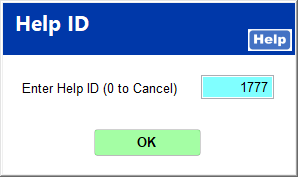
If you know the Help ID of a particular topic, click Go To Help ID
Clicking About TransActPOS TransActPOS