(c) Profile Systems Design Group, Inc. 2026 Build: 4.008.811 Help ID: 468
If you do not see the expected content,press CTRL + F5 to clear your Browser's cache.
Sale Prices
A sale price is the special price assigned to an item during a sale, or promotion. Promotions may be downloaded from a vendor or custom created by your store.
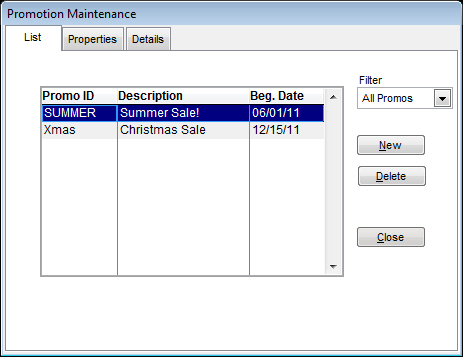
Promotions are maintained in Point of Sale | File Maintenance | Promotions.
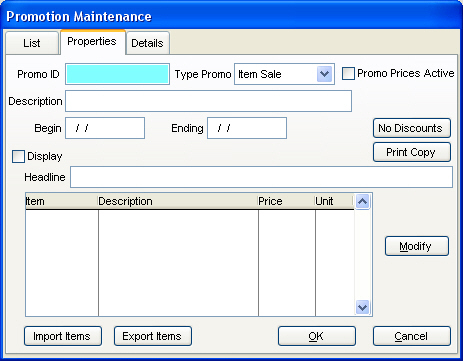
You can view the items and make changes to the promotion by clicking the Properties tab.
For complete details on creating and managing promotions, see Point of Sale | File Maintenance | Promotions | Creating a New Promotion.