(c) Profile Systems Design Group, Inc. 2026 Build: 4.008.810 Help ID: 424
If you do not see the expected content,press CTRL + F5 to clear your Browser's cache.
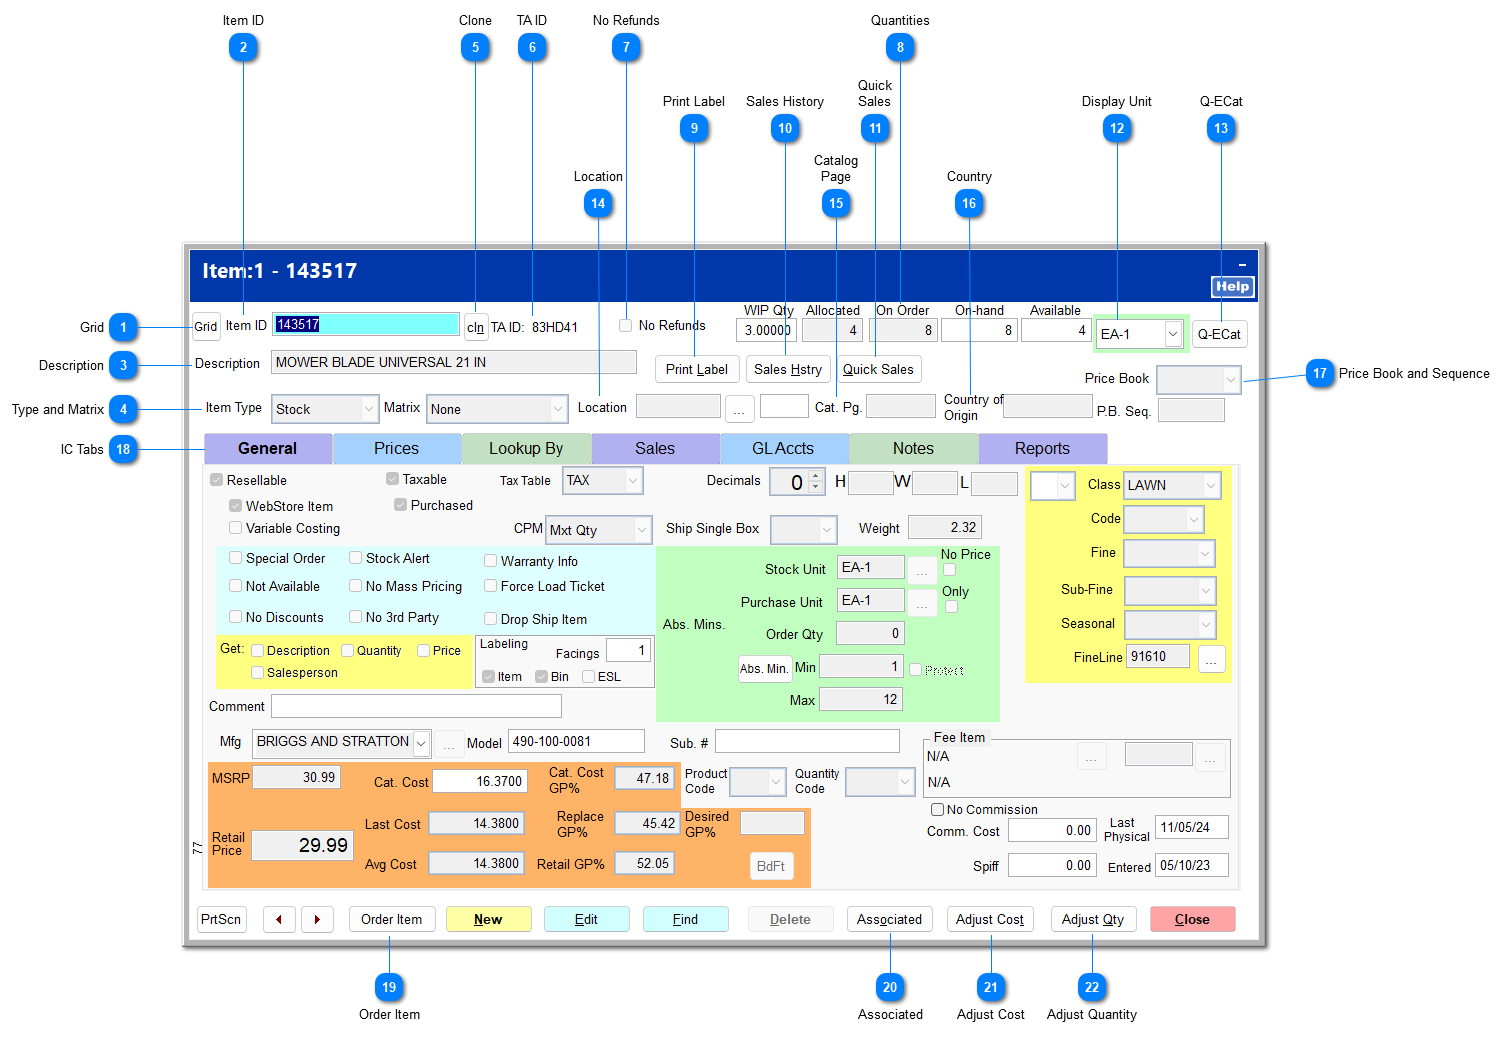
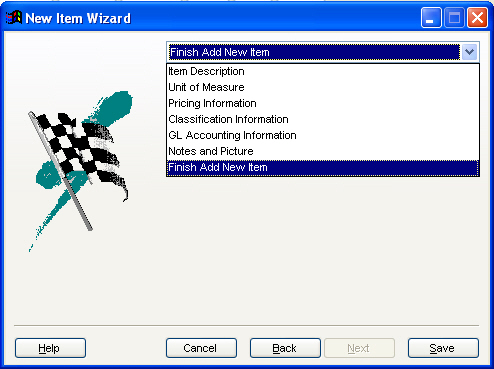
Inventory File
The IC Inventory File contains all the information required to define an item in your store's inventory.
Item ID
The Item ID is an alphanumeric relationship to a specific SKU within the inventory system.
You can change the item ID, and the system retains all historic information. You are prompted to save the original item ID as a secondary lookup that is stored within the Lookup By listing.
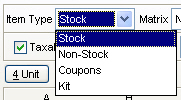
Item Type describes the type of inventory the item is (e.g., stock or non-stock). The item type controls how the item interacts within the modules and with other items. Changing the item type may alter the fields present in the inventory file.
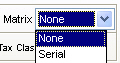
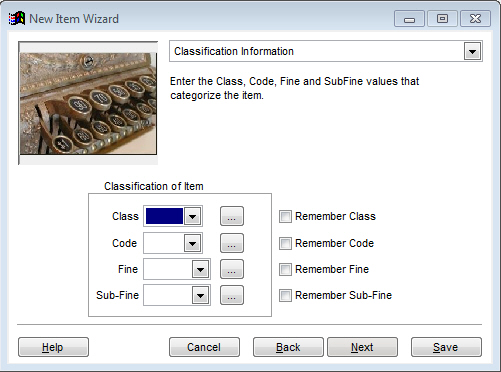
Matrix further defines the item within the item type.
For information on particular matrix types, see the page for the item's item type.
Item Type and Matrix cannot be edited if there is stock on hand for the item. The quantity must be adjusted to 0 and then returned to the correct quantity after the item type or matrix change.
This creates a duplicate of the item under a new item ID so that you can quickly add items to your inventory that are similar to items you currently have.
For more information on cloning an item, see Clone.
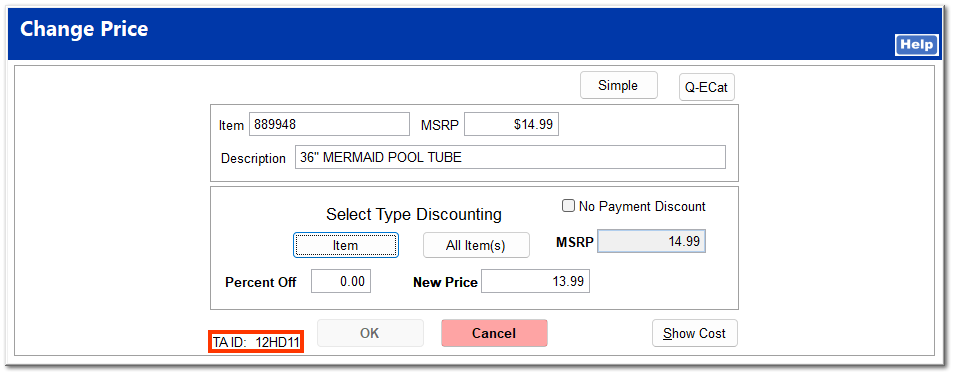
The TA ID is an encrypted form of the cost of the current item. The cost is read from right to left, with letters separating dollars and cents. This can be helpful in situations where you may need to view cost without blatantly displaying it on the screen.
As an example, the TA ID is used in Ring Sale for the Change Price function. The employee can quickly check the item's cost without disclosing cost information to the customer in the case that the customer is able to see the workstation screen.
These fields show item quantities related to service tickets (WIP), sales orders (Allocated), purchase orders (On Order), total shelf quantity (On-hand), and quantity available to be sold off the shelf (Available).
WIP Qty
WIP (Work in Process) is the quantity of the item used in service tickets that have not yet been invoiced. When an item is placed on a service ticket, the on-hand quantity is reduced, and the WIP quantity increases. When the service ticket is invoiced, the item is removed from inventory, and the WIP quantity is adjusted. You can view the service tickets containing this item by double-clicking on the WIP Qty field.
Allocated
Allocated is the quantity of the item placed on open sales orders. You can view the sales orders containing this item by double-clicking the Allocated field.
On Order
On Order is the quantity placed on POs and pre-POs at the current stocking unit.
You can choose to include pre-POs or not in the On Order field by checking or unchecking Include Pre-POs in the On-Order calculation in System | Company Setup | Purchase Orders 2.
You can view the purchase orders on which this item is placed by double-clicking the On Order field.
A more detailed list of open purchase orders for the current item is available through IC | Inventory File | Reports Tab | On POs.
On-Hand
On-Hand is the total quantity from the shelf and warehouse locations.
Available
Available is the current On-hand quantity less the Allocated quantity.
The location field indicates the physical location of the item within the store. Typically, aisles are assigned a location code (A1,A2, B1, B2, etc.), and the inventory is assigned to this location by entering the location code in this field.
Click the ... button to enter additional locations.
The IC tabs contain detailed information and settings regarding specifications, pricing, and available vendors for each item. For detailed information on the IC tabs, see IC Tabs.
The Item Navigation filter allows you to quickly move between like items' inventory files. Right-click either arrow button to open the filter.
Type the search criteria you wish to filter for in any of the fields available. Alternatively, you can click Use Current Value to the left of any field to automatically enter the value of the item whose inventory file is currently open. Click OK to apply the search criteria or Clear to clear the fields and start over.
You can now use the arrow buttons to navigate between items within the filtered results.
This opens a "quick order" screen. The oldest open pre-PO for the primary vendor is automatically selected as the PO on which to place the item. Clicking New PO places the item on a new pre-PO for the primary vendor.
An associated item is an add-on to the current item. When the current item is entered on an invoice or a sales order, its associated items are also added automatically.
To create an associated item, click New.
Type the item ID of the item you wish to associate, and press the Enter key. Click OK.
Upon entering item 103974, its associated item 177359 is entered automatically.
For more information on Associated Items, see Associated.